Townhouses Option
This article only applies to students living in the “Townhouses” student housing option.
Important
During scheduled maintenance events, the wired network connections in residences may be interrupted. Please check the ITS status page to see upcoming maintenance periods or current outages related to “Banner” and “Network”.
Wired connectivity is linked to your dates of stay in student housing. If your dates of stays are changed, modified, or expired, you may encounter errors when trying to use the wired connection in your room. If you experience any wired connectivity issues, please speak with student housing staff first before creating an ITS ticket.
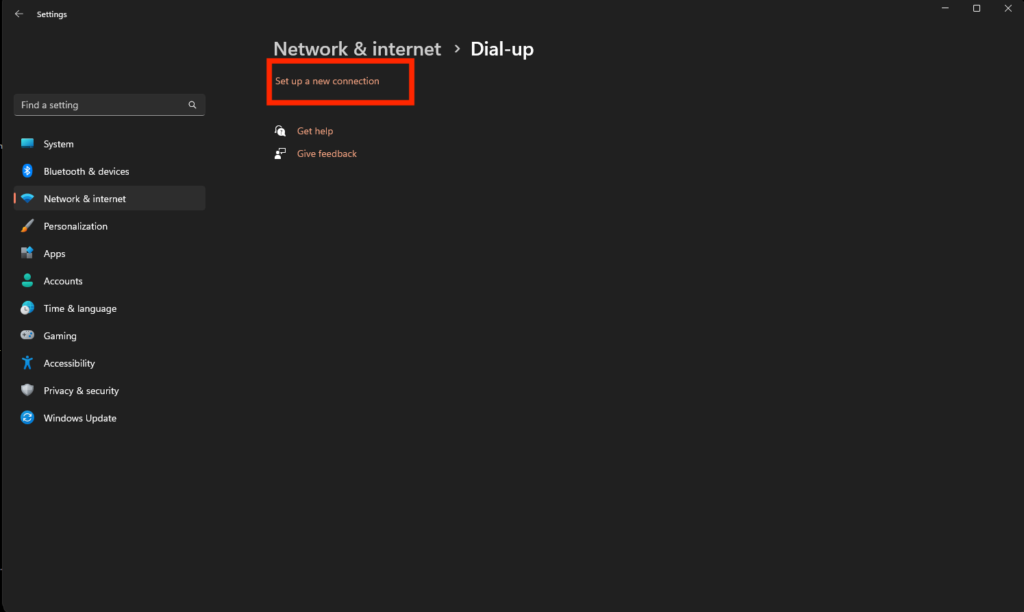
Wired network connections in BCIT student townhouses is provided using a network protocol called Point-to-Point Protocol over Ethernet (PPPoE), which requires a valid username and password. To connect, plug one end of an Ethernet cable (Category 5 or 6, RJ45 terminated cable) into the data drop in the room, and connect the other end to your device. This is a standard cable, commonly included with routers or other network equipment.
This protocol is supported on most Desktop Computers and Laptops and is not supported on most Consoles or IOT devices. For connecting IoT devices or consoles, please refer to the “Gaming Consoles” section of this article.
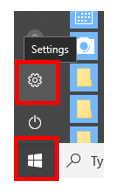
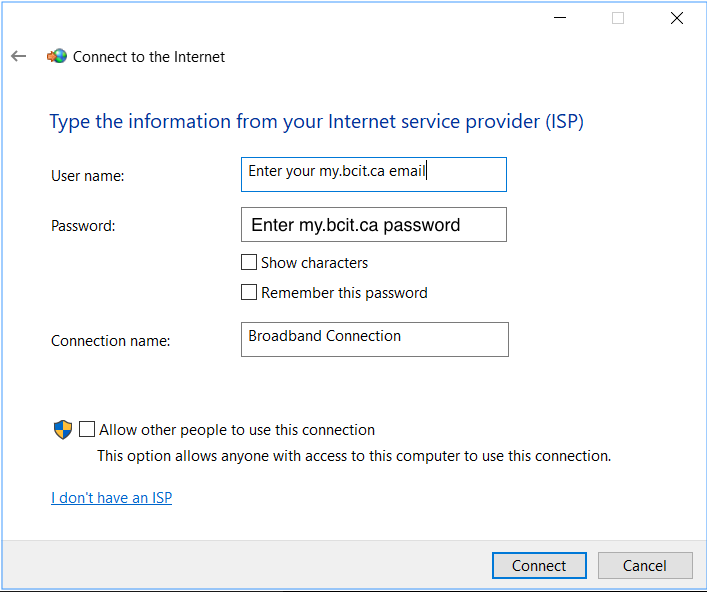
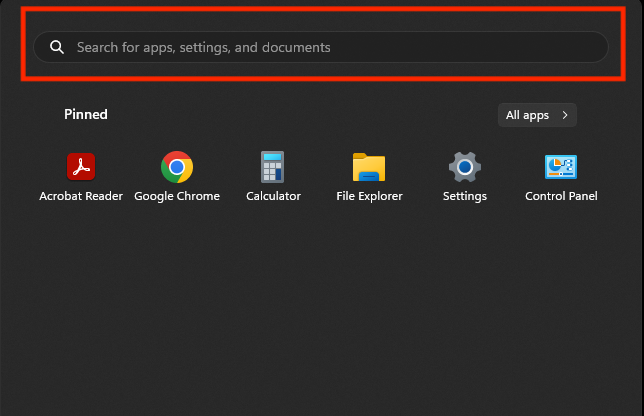
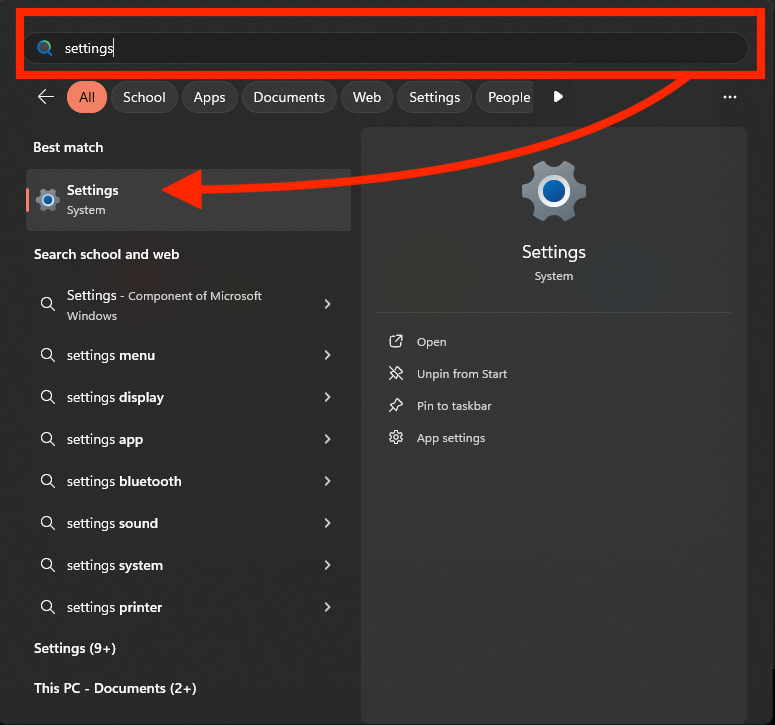
After plugging in your device, the device’s PPPoE client software needs to be configured. This configuration process varies based on the Operating System (OS) that is used on the device.
Due to the variety of device and software manufacturers, we cannot provide specific step-by-step instructions for every device. Below, you will find instructions on how to connect Windows 10/11 devices. For any other devices that support PPPOE, please refer to the manufacturer’s website.