Some courses may require students to use a custom virtual machine to complete their studies. These virtual machines are hosted and accessed in Educloud.
Logging into Educloud
To access Educloud:
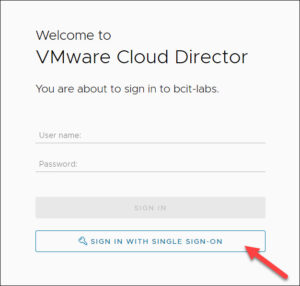
- Click on the Educloud tile in AppsAnywhere or go directly to bcnet.educloud.ubc.ca/tenant/bcit-labs/.
- Click on “SIGN IN WITH SINGLE SIGN-ON”.
- When prompted, login with your usual BCIT credentials.
Launching your Virtual Machine
- Upon entering Educloud, you will be presented with the Virtual Machines page with tiles representing all virtual machines that you have access to.
- Locate the tile for the virtual machine assigned to you (typically assigned by an instructor).

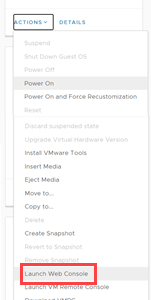
- Power On your virtual machine by clicking on the tile Actions menu and then clicking Power On.

- Note: Do NOT select Power On and Force Recustomization otherwise you may lose your settings.
- With your virtual machine powered on, you may now remotely access it by clicking on Launch Web Console in the Actions menu.
- The screen for your virtual machine will pop up, enabling you to remotely control it.
When you are finished using your Virtual Machine
Once you are finished using your Virtual Machine, you may choose the Shut down or Sign out option within your virtual machine’s operating system (do not choose Disconnect). You can then close the Educloud browser window.