Guest and Event Wireless Access
If you are hosting an event at BCIT, you can request wireless access for your event.
If you need individual guest wireless access while visiting BCIT, a BCIT Faculty member can provide you with guest wireless access.
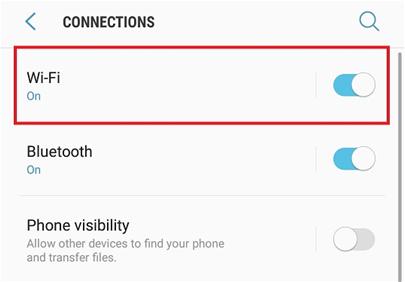
How do I connect?
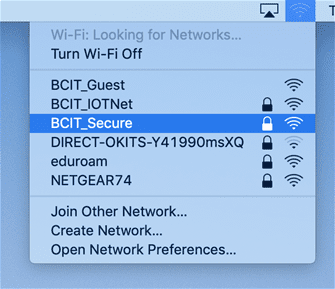
The method of connecting depends on the operating system you’re using. In general there are two networks available, BCIT Secure and eduroam. The instructions for connecting to BCIT Secure and eduroam are very similar, where the instructions differ are pointed out where necessary below.
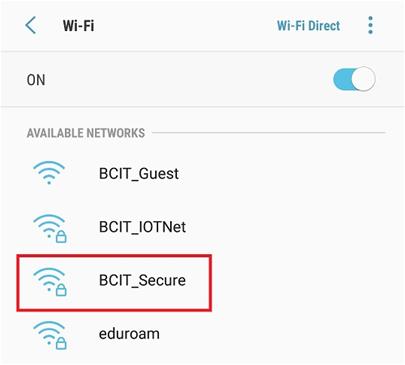
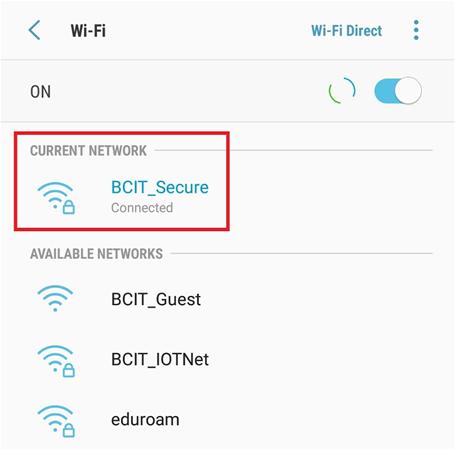
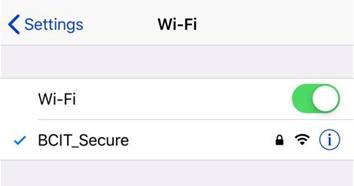
When to connect to BCIT Secure
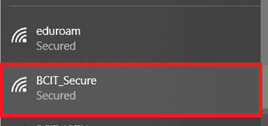
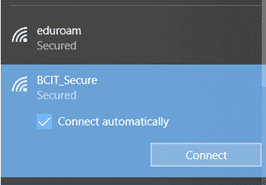
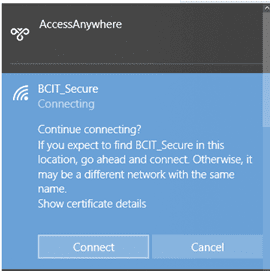
If you are currently BCIT faculty, staff, or student and are connecting from a BCIT campus, we strongly recommend you connect to BCIT Secure.
When to connect to eduroam
Eduroam is an international educational collaborative network that allows students, staff, and faculty from participating post-secondary institutions to easily connect to wireless at other participating post-secondary institutions without needing to request a guest wireless account. Eduroam does not provide access to BCIT network resources, (department shared drives, etc.), only wireless internet access for authorized users.
- If you expect to travel to another institution, you may wish to briefly connect to eduroam while on a BCIT campus prior to your trip so that your device remembers the eduroam network and connects seamlessly when you arrive at the other institution.
- If you are a visitor (student, faculty, staff) from a participating post-secondary institution, you should connect to eduroam when visiting a BCIT campus. Your login details are determined by your home institution and may differ slightly from those for BCIT faculty, staff, and students, so refer to your home institution’s IT resources for more information.
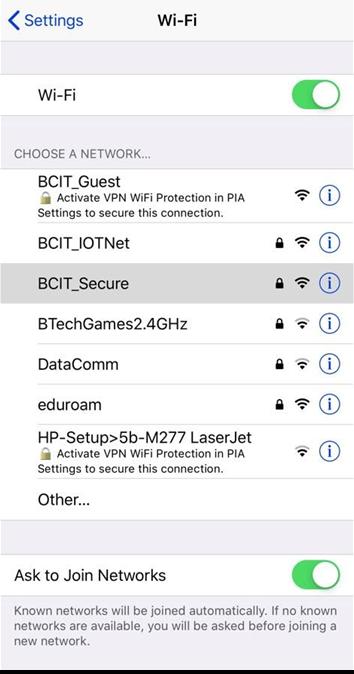
This article will provide a list of general instructions on how to connect to BCIT Secure and eduroam. Due to the wide variety of phone manufacturers and providers we cannot cover all operating systems in depth and this is not an exhaustive list. We will cover the major North American software versions of Windows 10/11, MacOS, Android, and iOS.