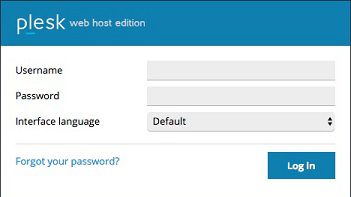
Login to the Plesk control panel at https://plesk.tis.bcit.ca:8443 using your customer account credentials:
After you have logged in you will see your main dashboard, which will be similar to this:
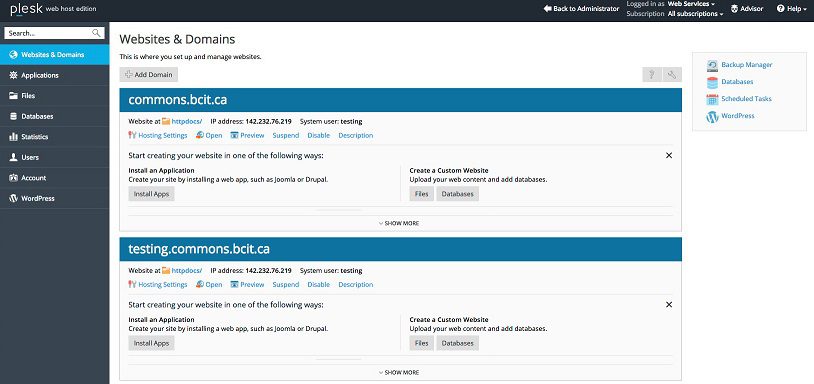
All sites you manage will be listed from the main dashboard. From here you can add files to your site, create and mange FTP accounts and directories, create databases and view disk space usage.
FTP
Your system user account can be used for FTP. Remember, the system account is the credential associated with your subscription.
For example, customer A Smith has three subscriptions:
- Testing1.commons.bcit.ca
- Testing2.commons.bcit.ca
- Testing3.commons.bcit.ca
Each of these will have a system user account, which consists of the username being the domain name and a password e.g.
For Testing1.commons.bcit.ca the credentials would be:
- username: testing1
- password: <password>
In order to upload via FTP you will need to enter those credentials along with a host address, which is the IP address, in your preferred FTP client.
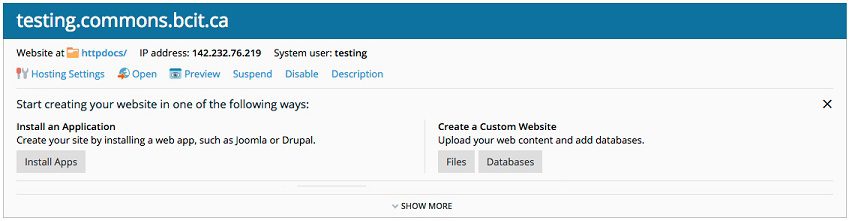
This IP address is displayed on your dashboard:
Additional FTP accounts
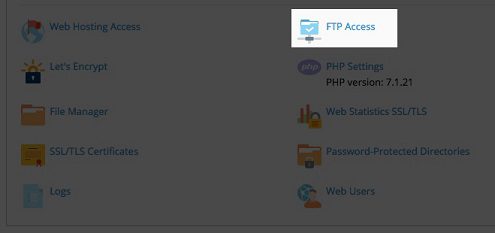
You can create new FTP accounts and give users access to the whole site or a particular folder. To do this click on the FTP access icon:
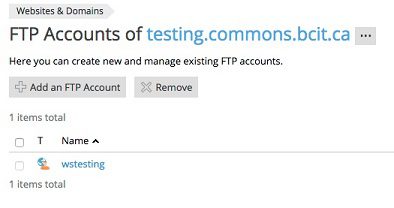
Here you will see a list of all associated FTP accounts and folders they have access to. Initially it will be the System User account that was created along with your domain:
Click Add an FTP Account and you will be presented with the following screen:
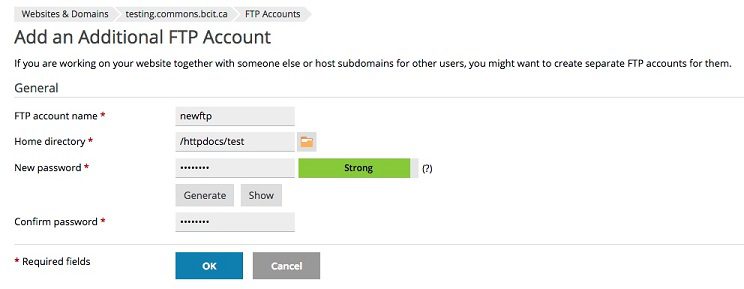
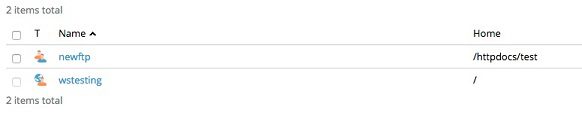
You will need to provide an account name, password and directory access. If you leave Home directory as is, this will allow access to the entire site. If you want to restrict access to a particular directory and sub-directories click the directory browser icon to the right. From here, select which directory you wish to give access to. Once you click OK, the account will now be displayed in the list of accounts, showing which directories are accessible:
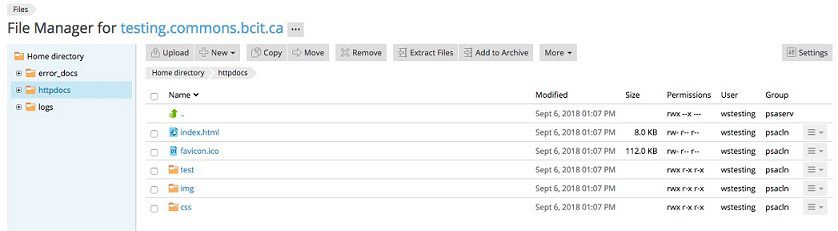
File manager
You can also use the Plesk file manager to upload files. From the panel on your dashboard, click File manager:

From here you can manage and upload files for your website. The root directory of your site is the httpdocs. This is the folder used by web server when you type your-domain.commons.bcit.ca so all files related to your site should be placed here.
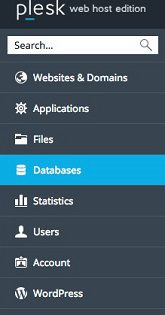
Databases
You can create up to a total of 3 databases for each of your sites. These are not automatically created so you will have to create them yourself. In order to do this, click the Databases menu item on the left.
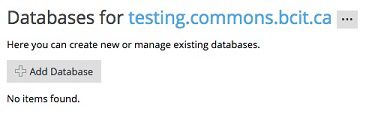
If you have more than one domain, you will see a list from which you can select the one you wish to associate a database with.

Clicking on your domain or if you have a single domain, will load a screen that will show any databases you have previously created and allow you to create a new one.
Click Add Database. From here you will give the database a name and create an associated user:
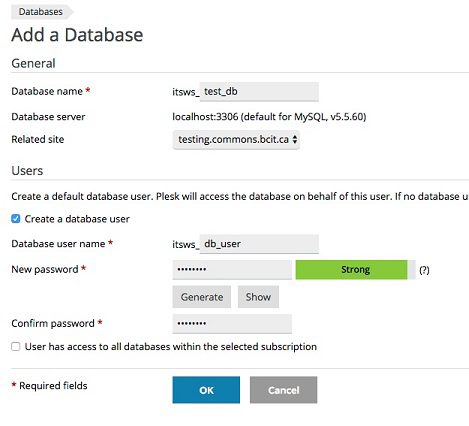
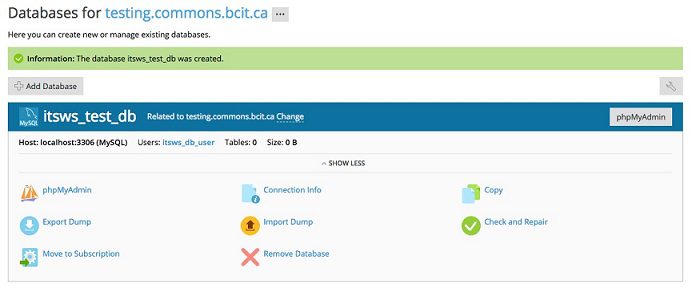
Clicking OK will take you back to the main database page which will now display a dashboard that will enable you to manage the database you just created:
Disk space and site traffic
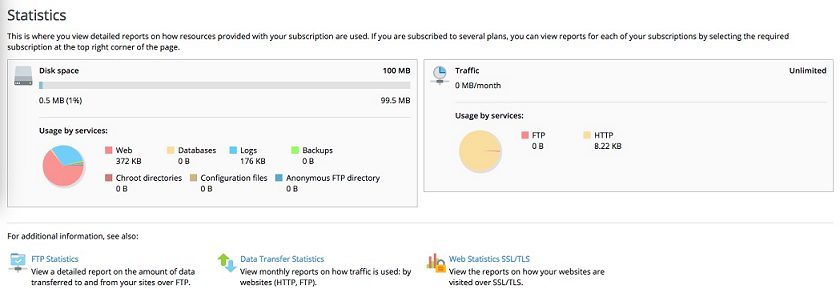
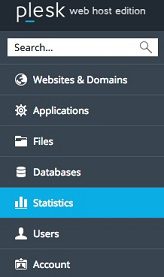
You can easily see how much of your allocated disk space is currently in use and also see some stats related to site visitors. From the menu on the left click Statistics:
If you have more than one domain, this will load a quick overview:
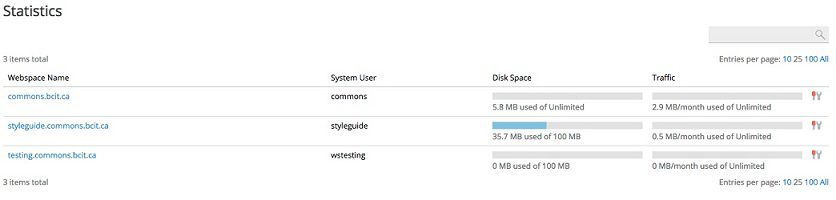
Clicking on a domain, or if you have a single domain, the main stats page will display: