AppsAnywhere is BCIT’s software delivery platform. Through AppsAnywhere, you can access all the software needed for your coursework without ever needing to visit a BCIT student computer lab.
AppsAnywhere is a Windows-centric platform. If you wish to access applications on a Mac computer, you have a couple of options depending on the processor in your Mac:
- M1/M2 (Apple Silicon) and Intel: Use an Apporto Virtual Desktop (preferred method)
- Intel Only: Create a Windows environment running on your Mac computer
Figuring out what processor you have in your Mac
On your mac computer:
- Open the Apple menu and select About This Mac.

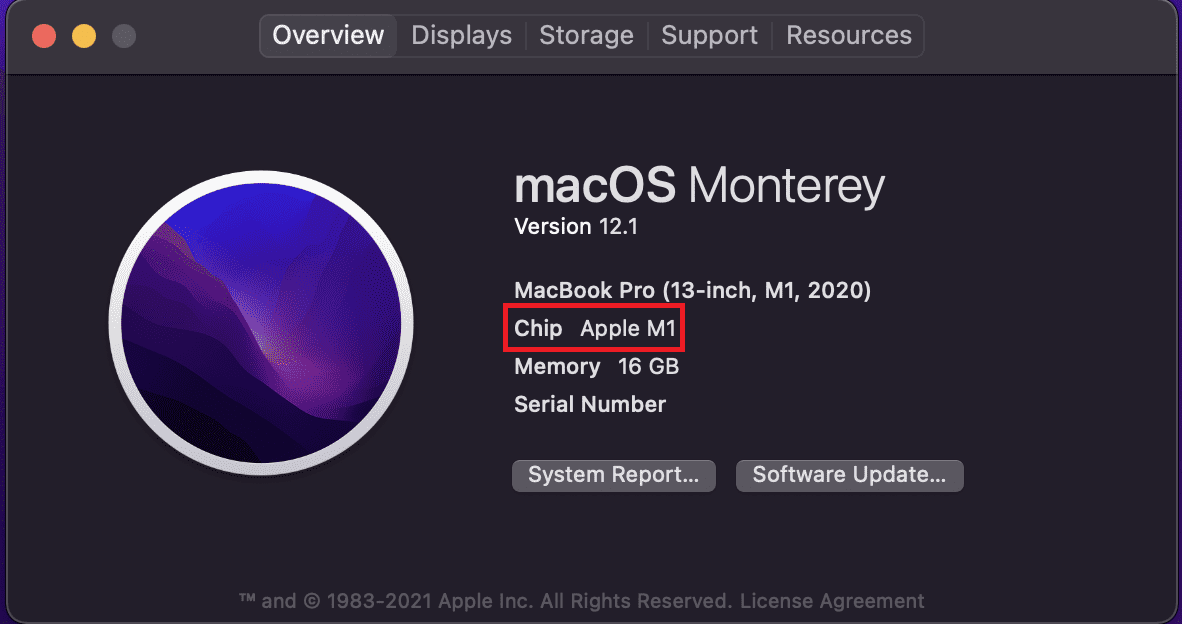
- Find the processor type listed next to “Chip” or “Processor”.
- M1 (Apple Silicon):
- Intel:
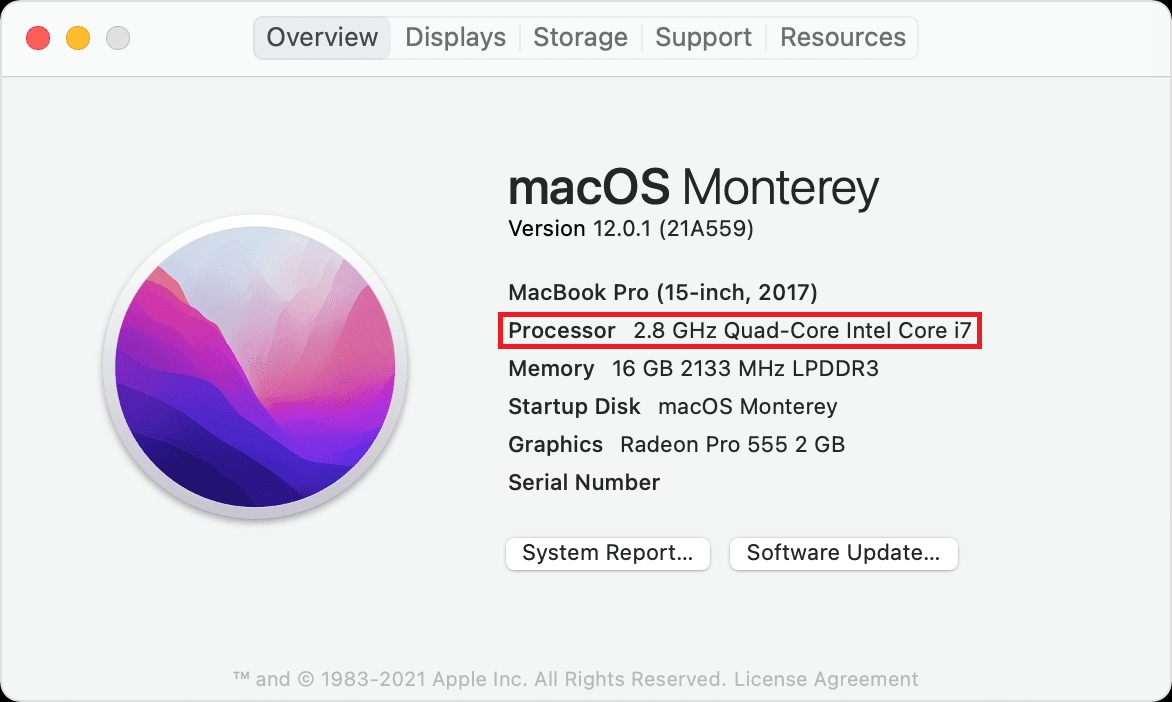
- Use Apporto (preferred) or create a Windows environment running on your Mac computer to use AppsAnywhere
- M1 (Apple Silicon):