Important
We do not recommend forwarding your BCIT email. Some external email providers, like Google or Yahoo, enforce strict security policies (such as DMARC – Domain-based Message Authentication, Reporting, and Conformance) that can prevent forwarded messages from being delivered.
Forwarding myBCIT email is therefore considered a best-effort service. BCIT will attempt to forward your messages, but success depends on the policies of the receiving mail provider, which may reject the forwarded messages for reasons outside BCIT’s control
If you prefer to use another email address or don’t check your myBCIT inbox regularly, you can set up a filter to automatically send a copy of your incoming messages to another email address.
Forwarding your myBCIT email
- Log in to myBCIT.
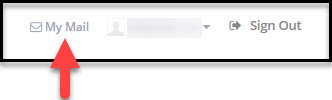
- Click My Mail in the top-right corner.
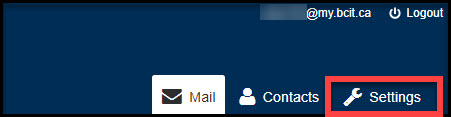
- In your myBCIT email, click Settings (top-right).
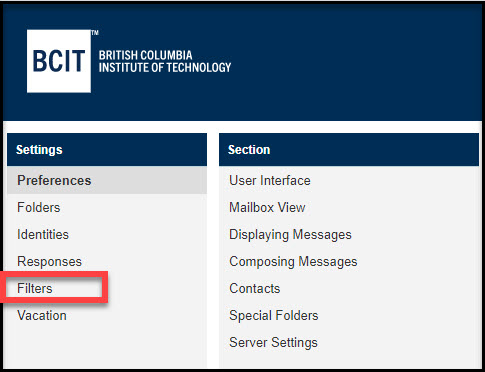
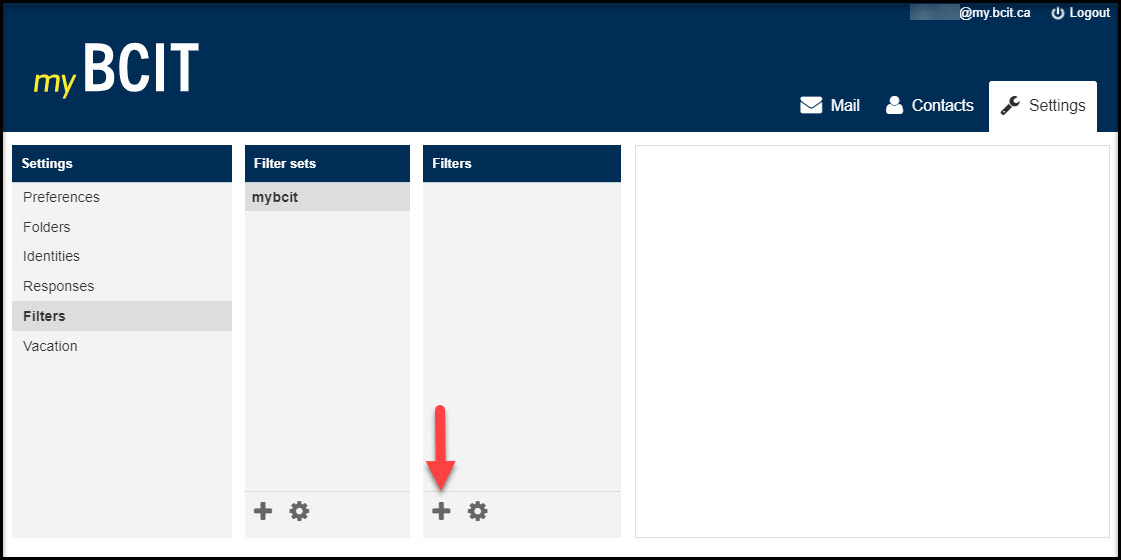
- Under Settings, select Filters.
- Click + to add a new filter.
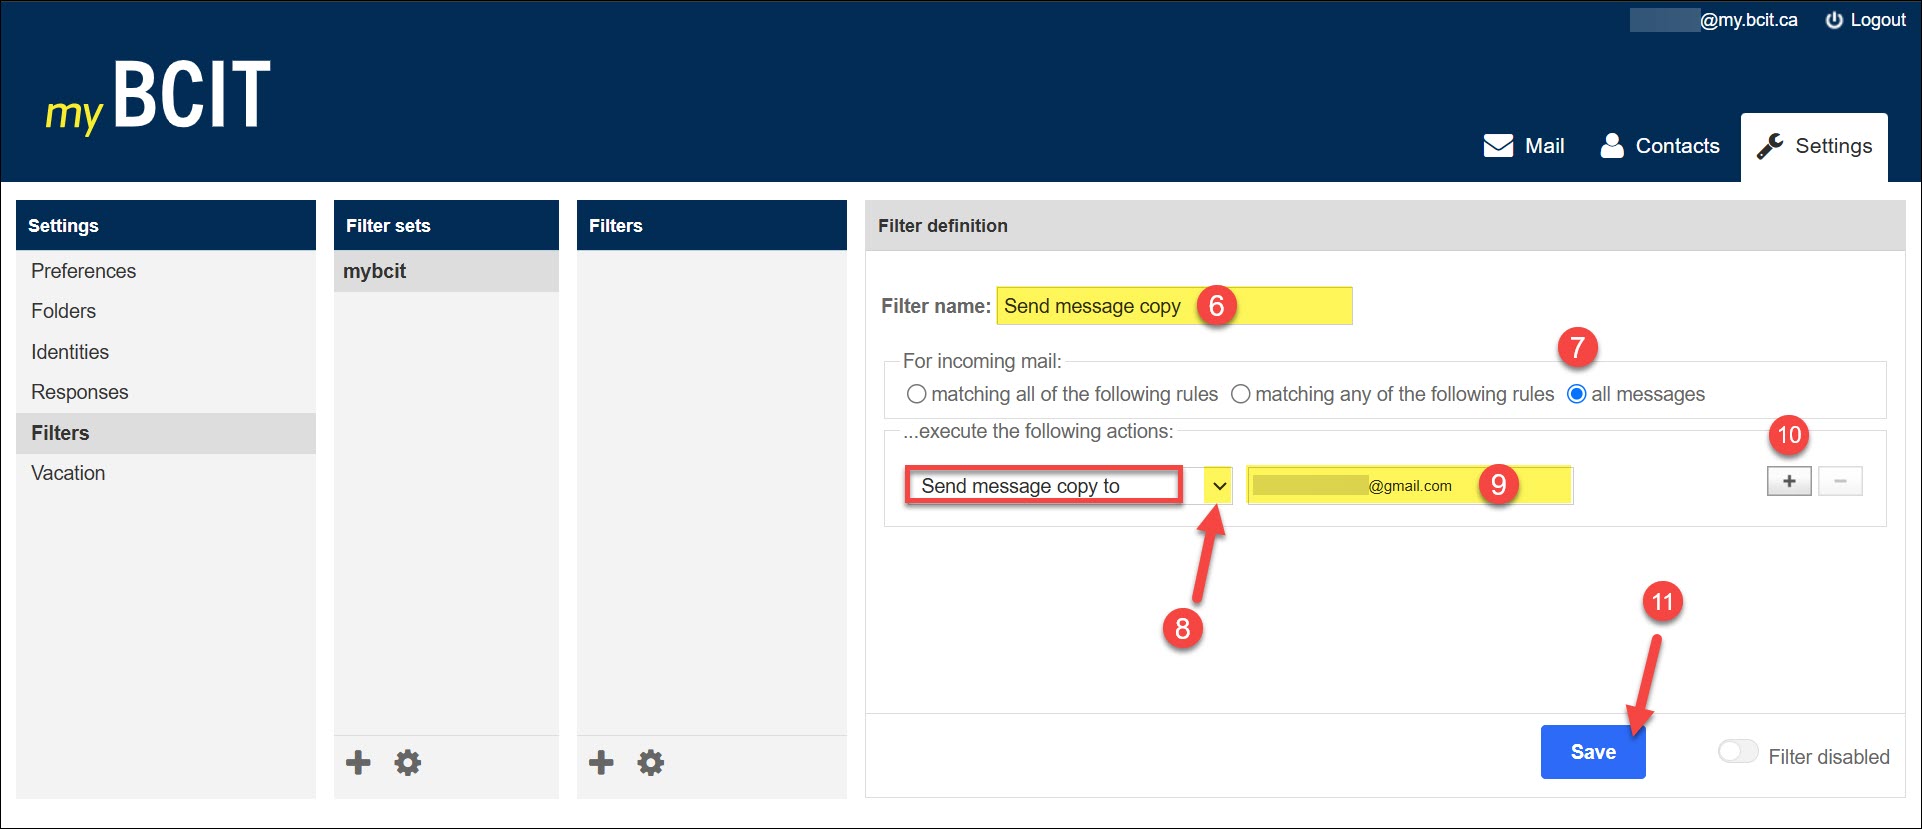
- In Filter Name, enter a name. (e.g. Send message copy)
- Under For incoming mail, select all messages.
- Under Execute the following actions, choose Send message copy to from the drop-down menu.
Important: We recommend that you do not select Redirect your message to, as this can cause issues with personal email rules and spam filters. Using Send message copy to ensures the original email remains in your myBCIT inbox. - Enter the destination email address where copies should be sent.
- To forward to multiple addresses, click + and add each email.
- Click Save.
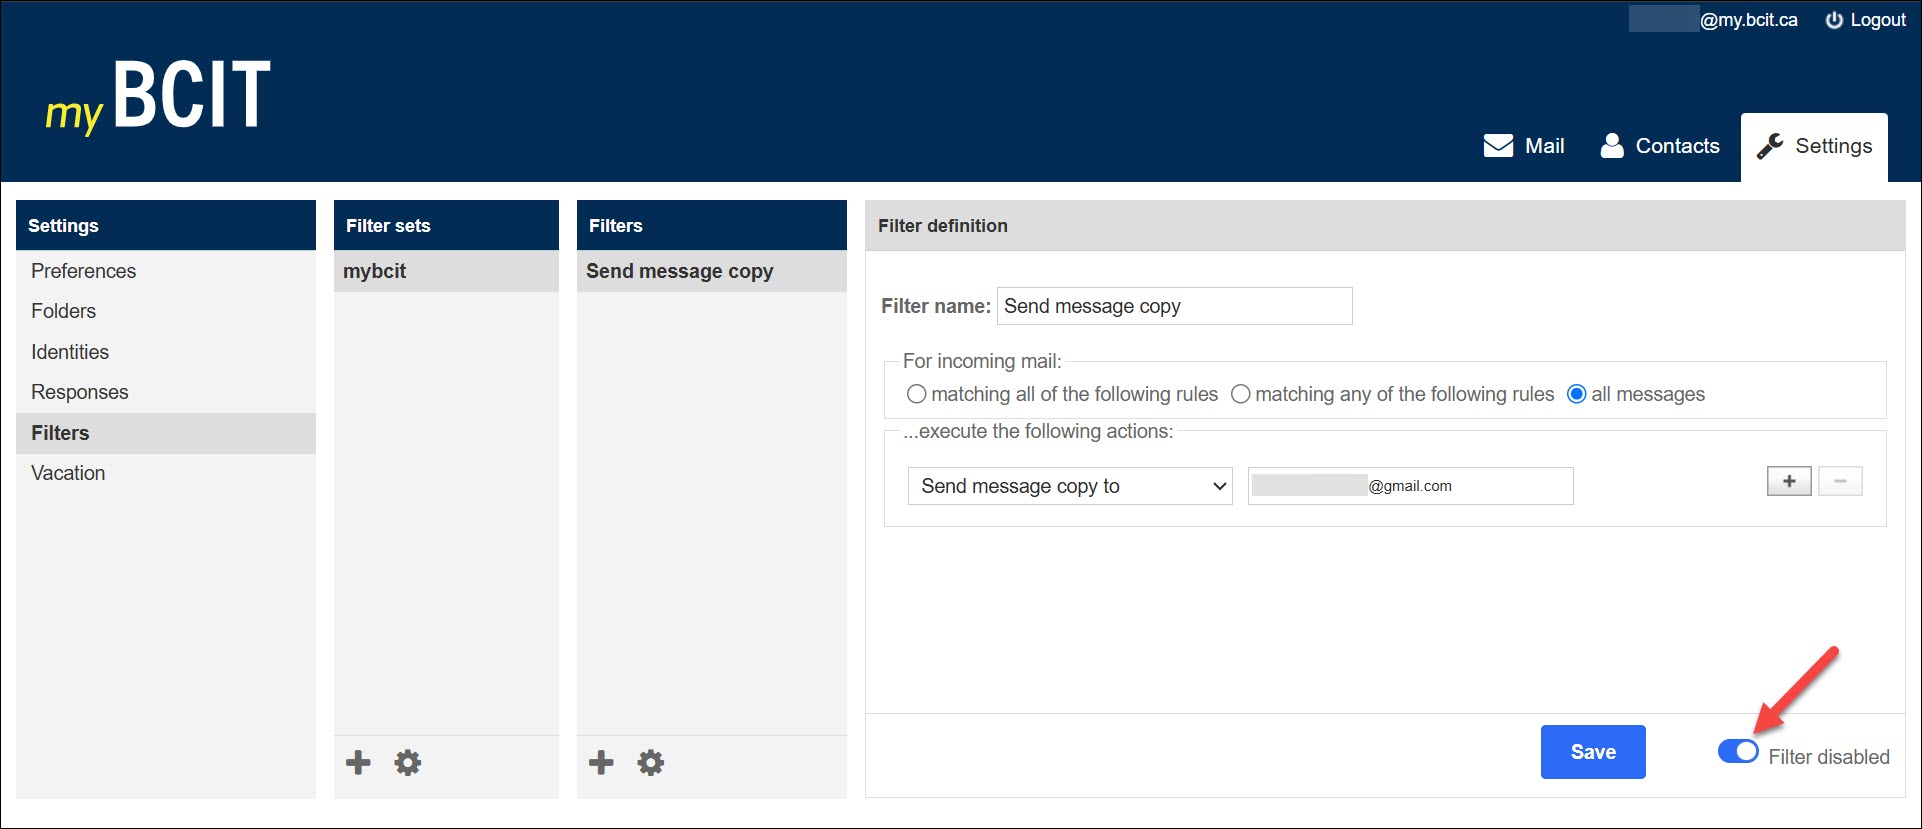
A pop-up message will appear briefly stating “Filter saved successfully”, and your new filter name will display in the Filters list.

Disabling a filter
Activating the “Filter disabled” option simply turns off that filter without deleting it.
- When enabled, the filter applies its rules to incoming mail
- When disabled, the filter remains in your list but does nothing—your emails will not be forwarded or processed according to that filter’s settings.
This is useful if you want to temporarily stop forwarding without losing the filter configuration.
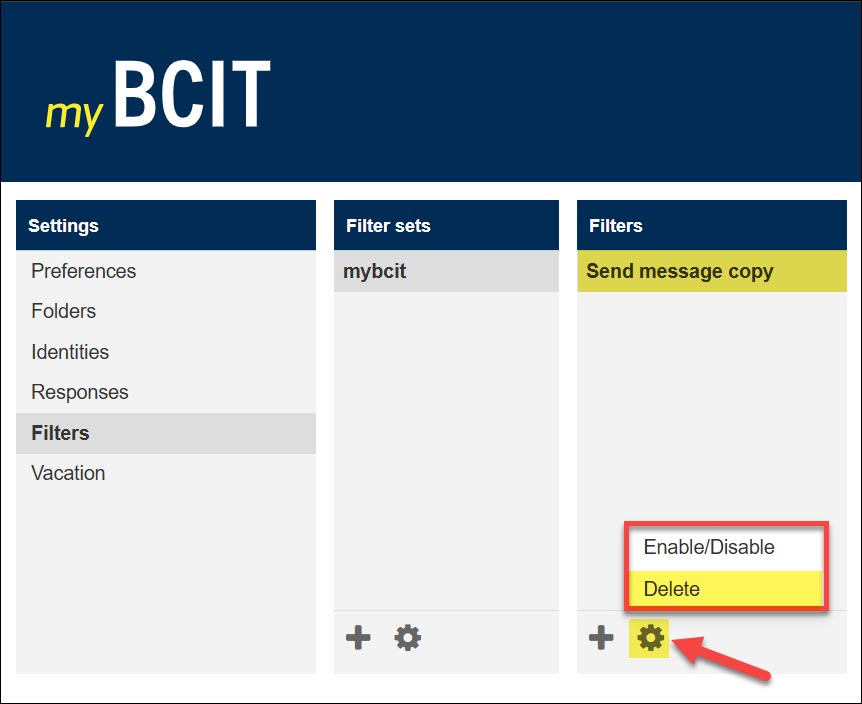
Deleting a filter
You can remove any filter you no longer need by deleting it from your Filters list.
- To delete a filter, select it from your list
- Click the gear icon (More actions)
- Choose Delete.