
Accessing Pay Printing from your Mac Laptop

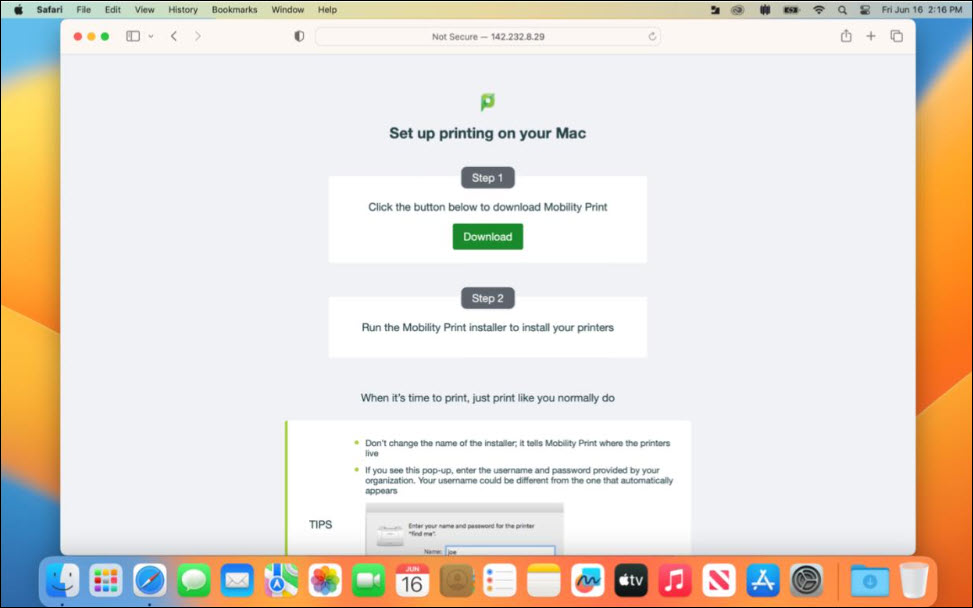
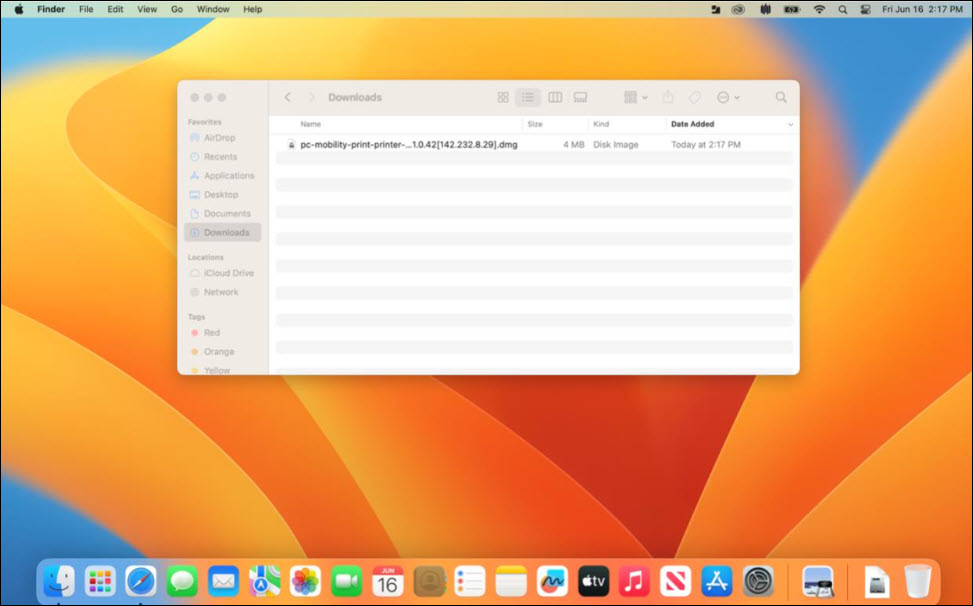
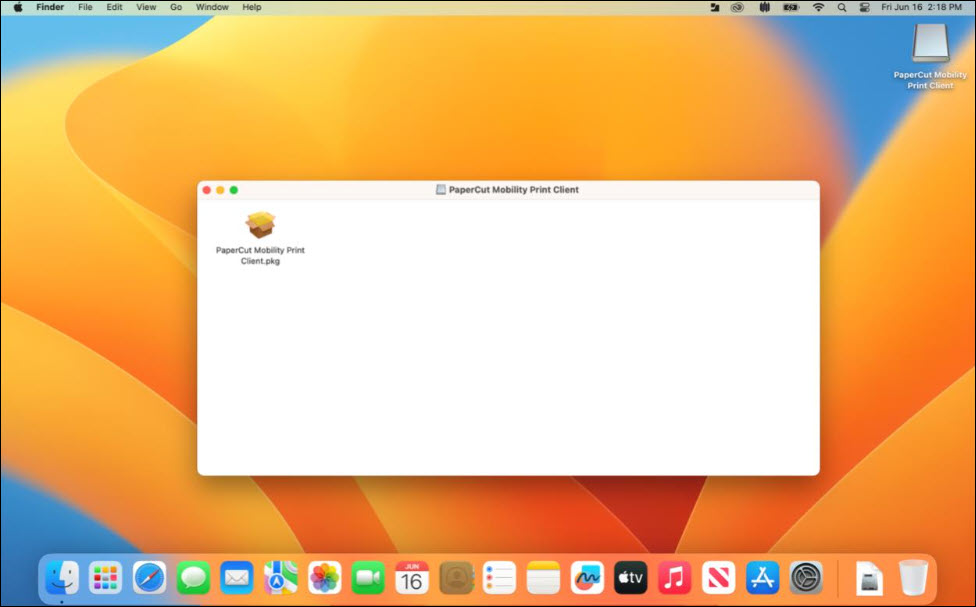
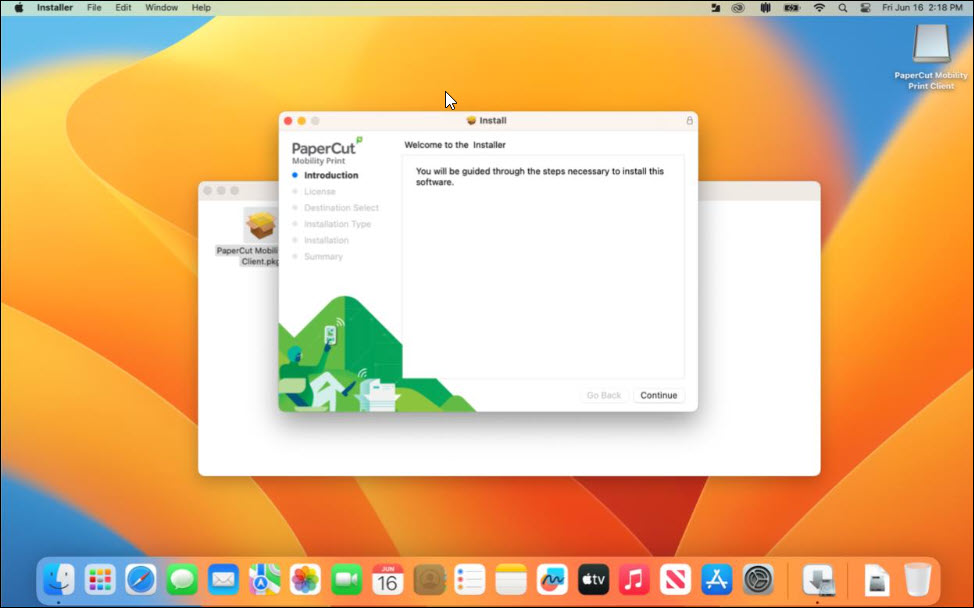
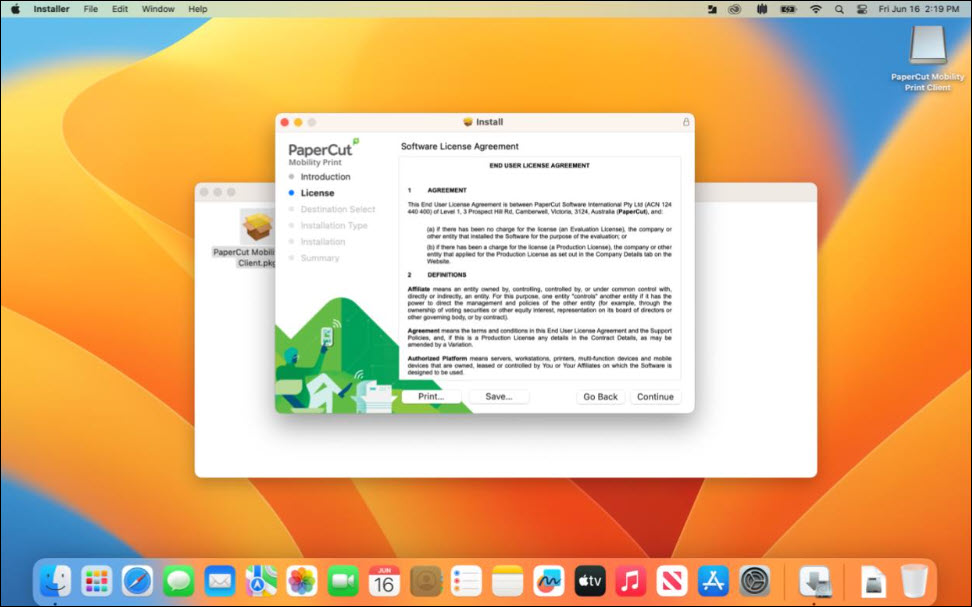
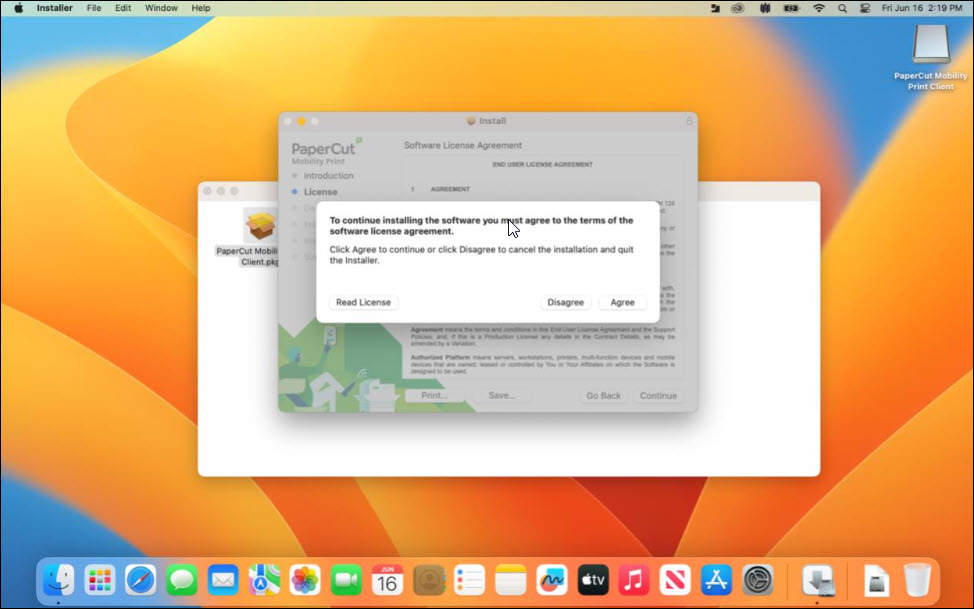
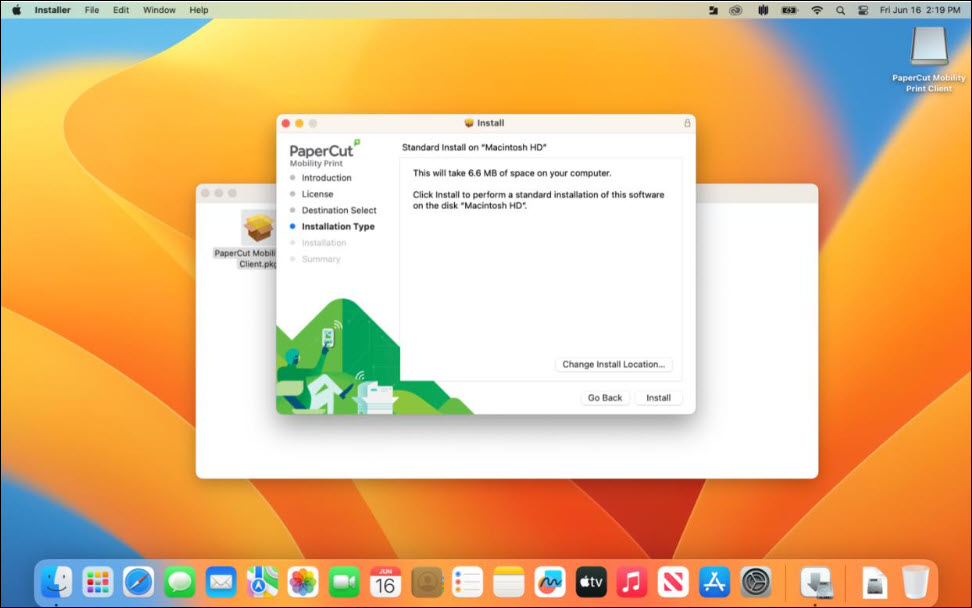
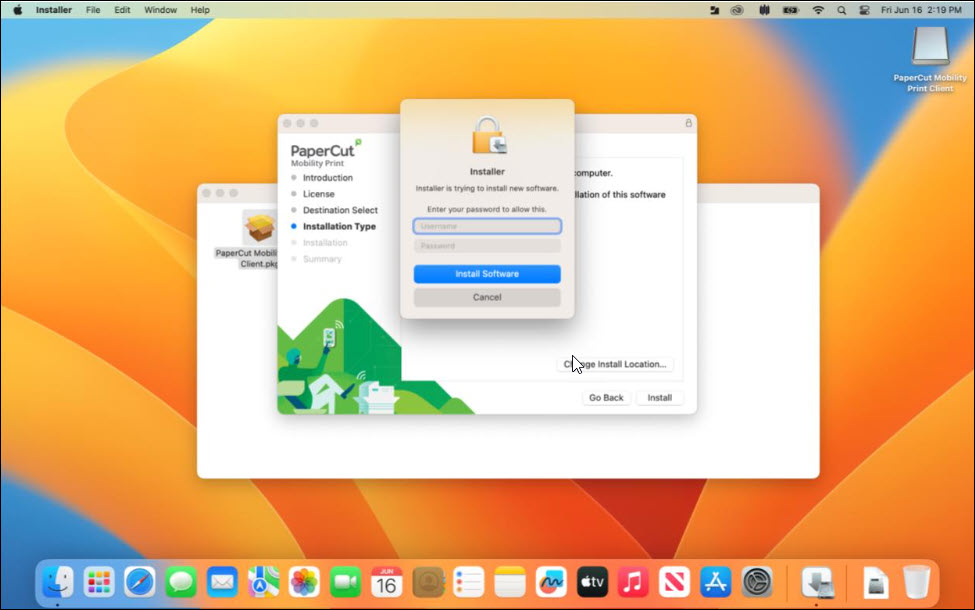
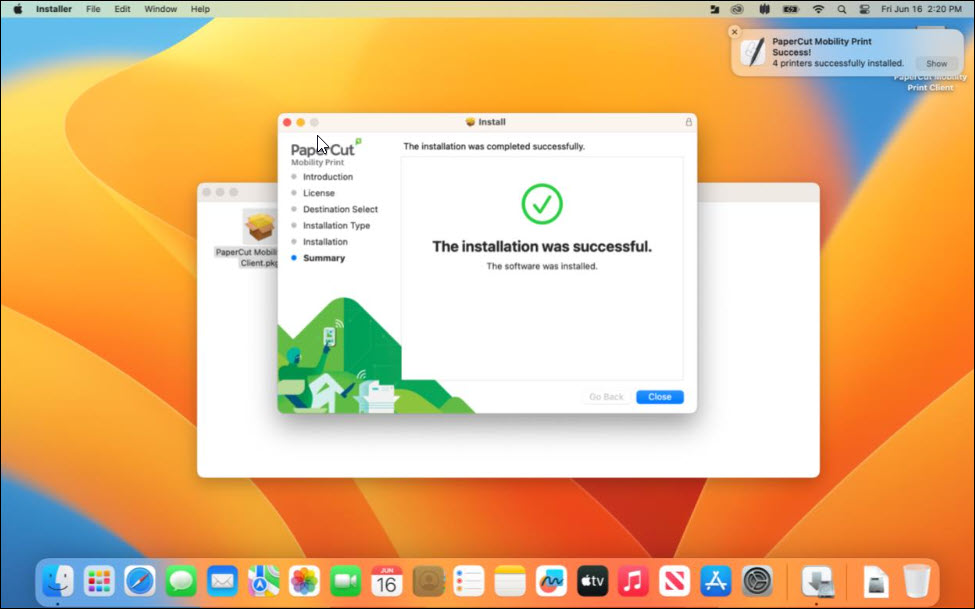
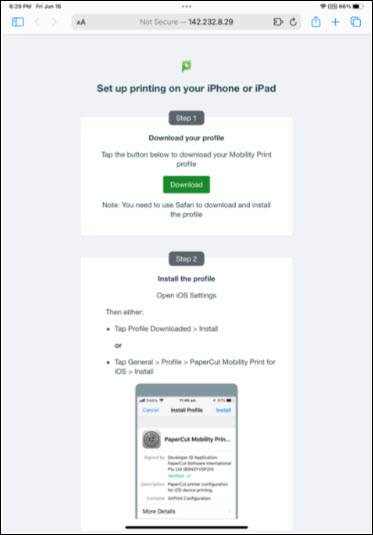
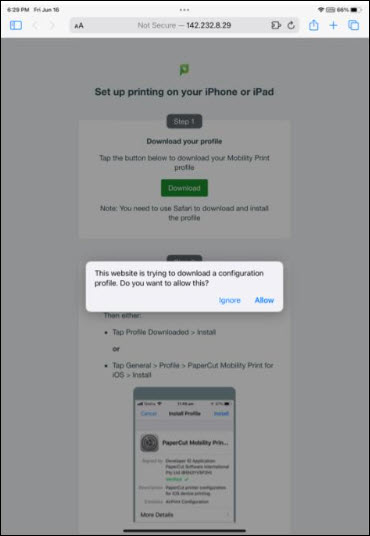
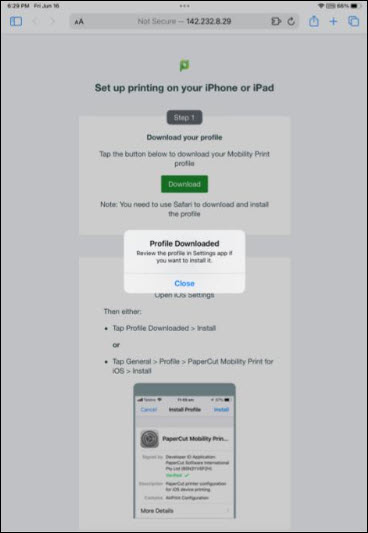
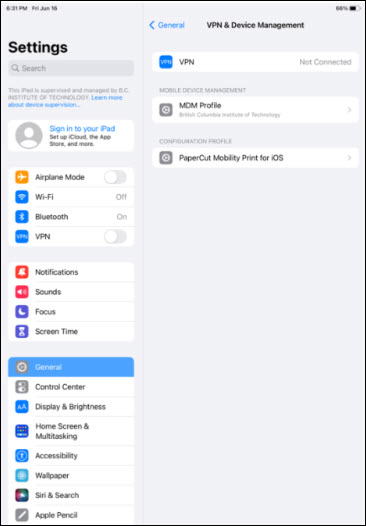
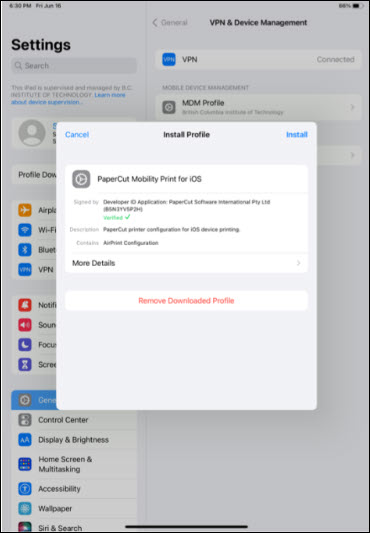
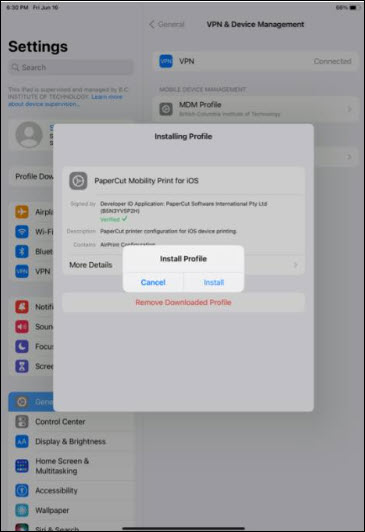
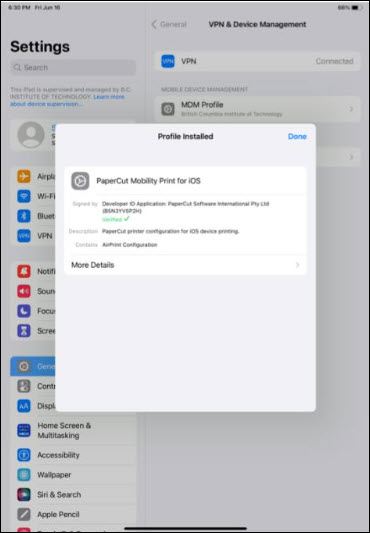
Students can access BCIT’s Pay Print System from their personal Mac computers. Follow the instructions below to download and install the correct drivers then connect to the pay print queues. Once complete, you will be able to send jobs to the Pay Print System and release them just as if you had sent them from a lab computer.

Download and install print drivers

Before you can add the pay print queues to your Mac, you will need to download and install the correct print drivers:

After the download is complete, find the downloaded driver package (typically in your Downloads folder) and run the installer. Once the driver package has been installed you can set up the pay printer using the steps below.

Pay Printer setup procedure

  1. From the Apple menu, select System Preferences.
  2. Open Print and Fax.
  3. Click the + button to add a new printer.Printers and scanners window.
  4. Control-click (or right-click) the toolbar and select Customize Toolbar.Add printer dialogue with display options menu open and customize toolbar option at bottom selected
  5. Drag the Advanced icon onto the toolbar, click Done.
    Customize toolbar options showing the two gear Advanced icon circled in red with an arrow pointing to where it should be dragged to
  6. On the toolbar, click the newly added Advanced button.
  7. From the Type drop-down menu, select Windows printer via spools.
  8. In the URL field, enter the address of the printer you want to install.  You can copy and paste from the list below:
    Location Printer address
    Burnaby Campus smb://PRT-Pay.ad.bcit.ca/Burnaby_Payprint?encryption=no
    Downtown Campus smb://PRT-Pay.ad.bcit.ca/DTC_Payprint?encryption=no
    Aerospace Campus smb://PRT-Pay.ad.bcit.ca/ATC_Payprint?encryption=no
    • Note: Make sure to include the “?encryption=no” string after the printer name to ensure proper setup.
  9. In the Name field, enter an easy to remember name for the printer (e.g. Burnaby Payprint).
  10. From the Use drop down, choose Select Software.Add printer dialogue showing the driver dropdown and select software selected
  11. At the Printer Software window, choose the driver to install:
    • For Burnaby choose RICOH SP C840DN PS
    • For ATC choose RICOH SP C840DN PS
    • For DTC choose RICOH MP C6004PS

    Note: You can type the printer model in the search box to quickly locate the driver.printer software dialogue

  12. Click OK to select the print driver.
  13. On the Add Printer window, click Add to complete the setup.Add printer dialogue showing the printer Name entered as Burnaby PayPrint
  14. The first time you send a job to the newly added printer, you will be prompted for a username and password.  Enter only the prefix for your myBCIT email address (the part before @my.bcit.ca) and your usual BCIT password.
    • Example: If your myBCIT email address were “asmith948@my.bcit.ca”, you would enter “asmith948” as the username.
  15. Check the box labelled Remember this password in my keychain in order to prevent this message from appearing every time.Enter your username and password dialog box showing the email prefix bcit_user and a masked password

More information

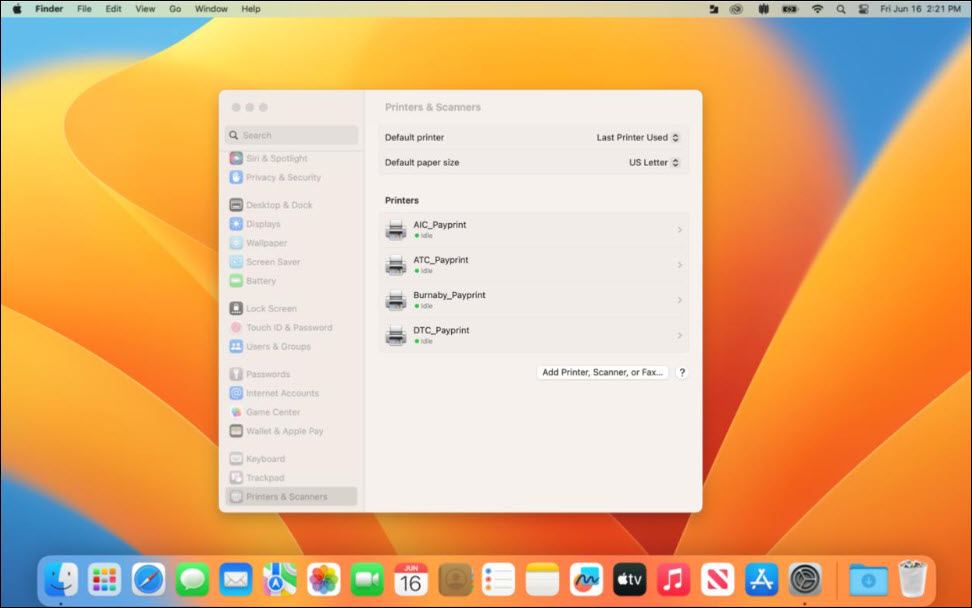
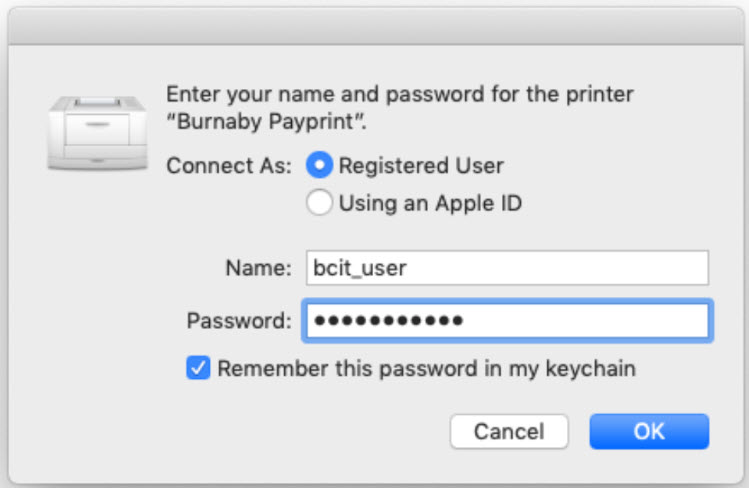
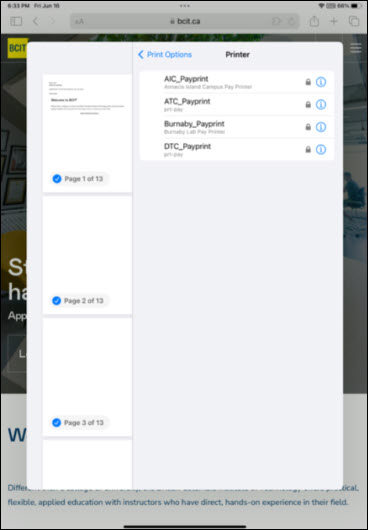
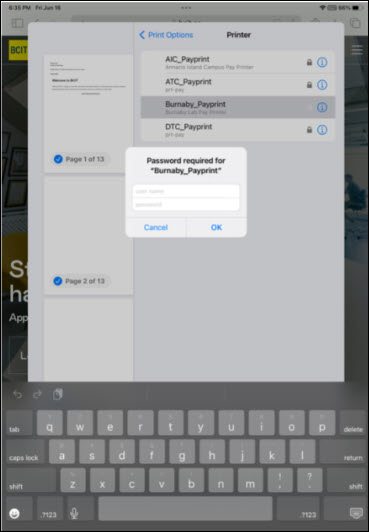
Documents sent to these printers can be printed from any Pay Print Station at the specified campus. To retrieve your jobs, enter your myBCIT email address at the Print Station login.