These instructions explain how to add a network printer to a BCIT computer running Windows 10.
Add a network printer
- Click the Windows Start button at the bottom left of your screen and type “\\gutenberg.ad.bcit.ca”. Press enter.

- A file explorer window will open displaying a list of printers.
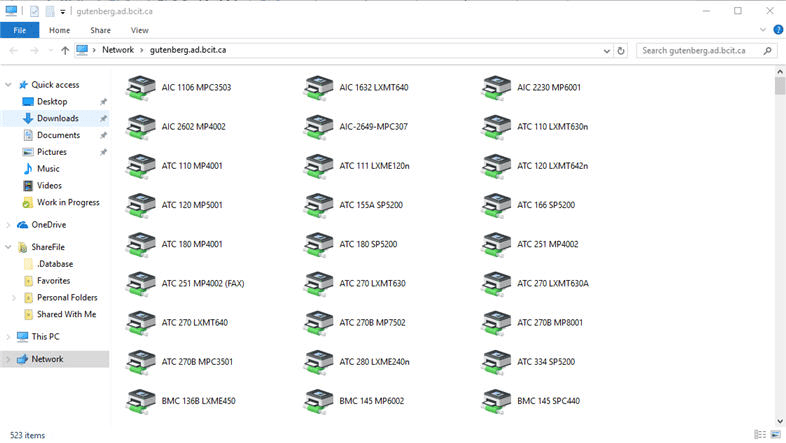
- Scroll through the list to find the printer you need to add and double-click the printer.
- You can type part of your printer’s name in the “Search” box to quickly find your printer.
- Note that printers are named by building, room number and printer model:
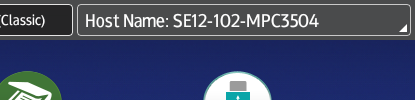
BCIT Campus Format for Building Name Burnaby Campus SW01, NE01, etc. Building numbers are always two digits (i.e., SE06 instead of SE6) Annacis Island Campus AIC Aerospace Technology Campus ATC Marine Campus BMC Downtown Campus DTC Mathissi Place (CARI) MP - On newer Ricoh models, the printer name can be found in the “System Message area” at the top of the device’s home screen.
- The printer you installed will now appear in the list of available printers.
- Applications running when a new printer is added may need to be restarted before the new printer is recognized.
- Additional printers may be added by repeating the above instructions.