Microsoft Teams is the core element of BCIT’s unified communication strategy for faculty and staff, having replaced previous technologies (Zoom, Jabber) as the BCIT’s primary videoconferencing and internal chat communication tools. Teams also integrates and significantly augments the functionality available in Outlook, OneDrive, and Office 365, with further integrations planned after the initial deployment.
If you’ve already logged in to BCIT systems in your browser, you’ll be taken directly to Teams online. If you haven’t already logged in, you’ll be redirected to a BCIT login page. Login with your usual BCIT login credentials (email address and password).
Signing in to the Teams app for the first time on any personal device (mobile, Mac, Windows):
Open the Teams app.
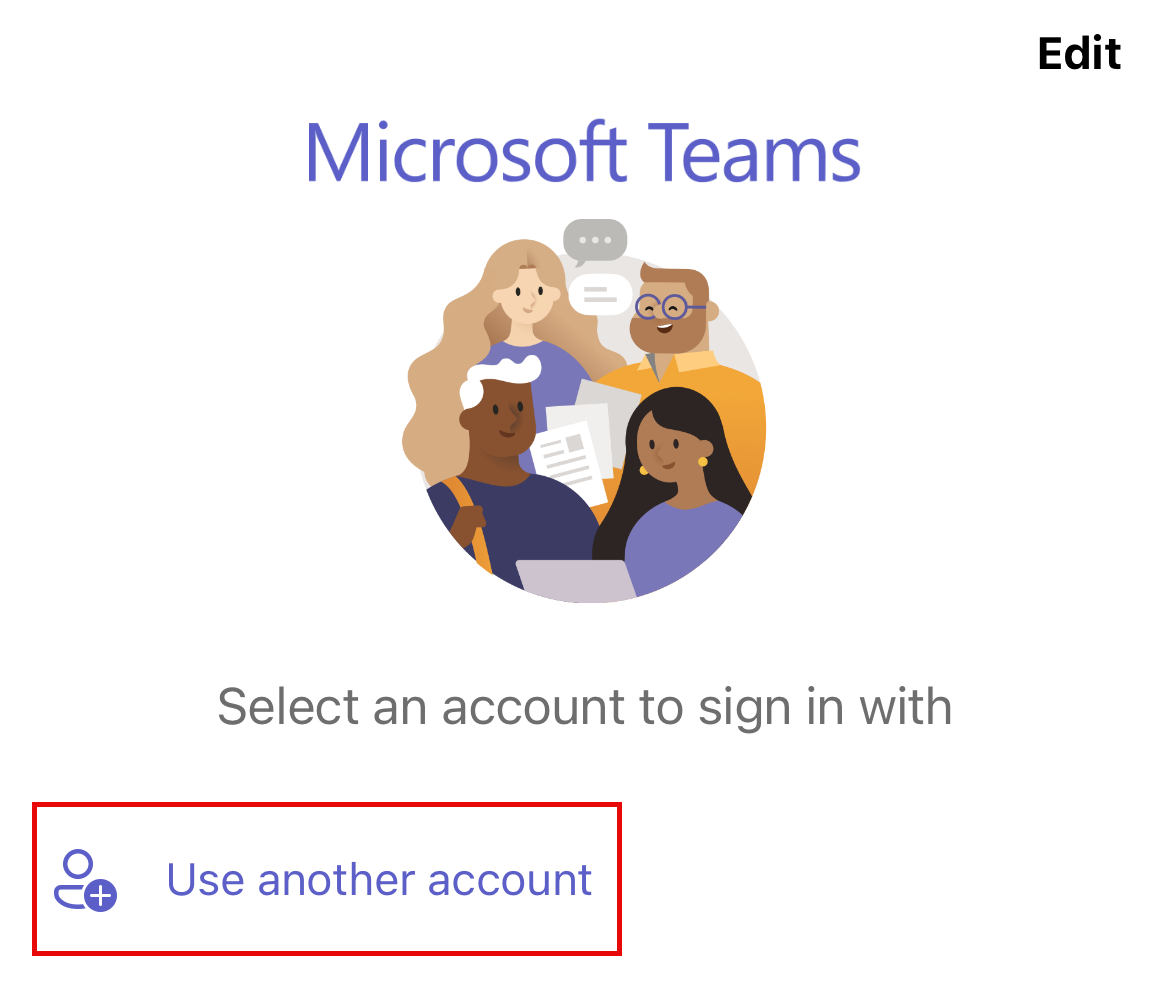
Tap Use another account (on mobile devices) or click Create or use another account (Mac or Windows PC).
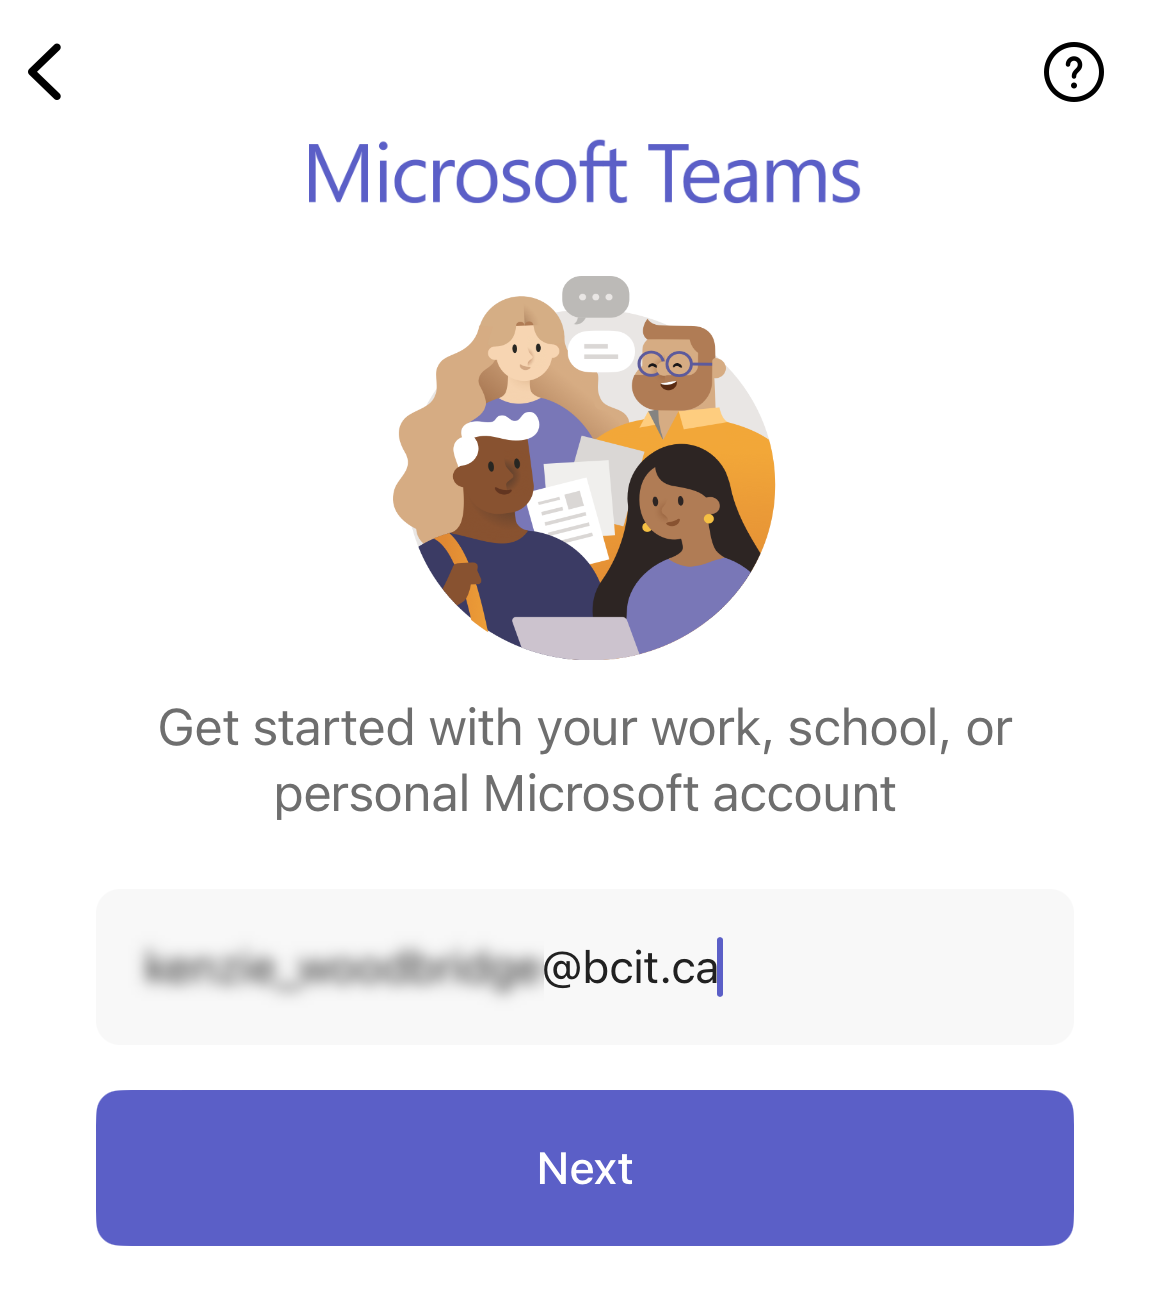
Type in your @bcit.ca email address.
You will be passed through to the standard BCIT login page. Enter your usual password and tap Sign in.
If necessary, confirm your login via MFA, and if asked, choose whether the current device is yours only or shared.
Once you’ve logged into Teams the first time, you will likely not be asked to login again unless you sign out or delete the app from your phone.
Your current status and availability is part of your profile in Microsoft Teams and throughout Microsoft 365. A coloured icon appears next to your profile picture wherever it appears that indicates your status and current availability to other users. This happens automatically, based on your Outlook calendar and out-of-office settings, but you can also set it manually and add a custom message.
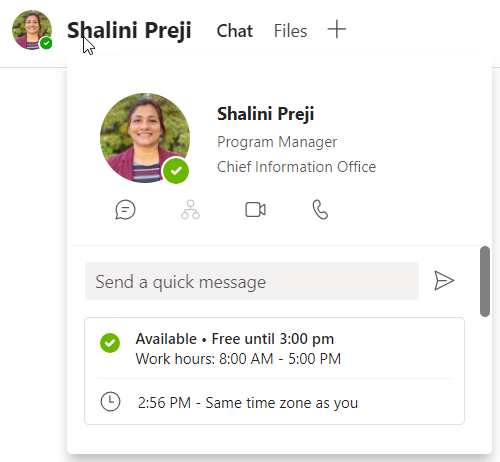
To view your own current status, look at your profile picture in the top right corner of the Teams window. You should see a small round status indicator overlaying it at the bottom.
To see another user’s status, search for them using the search bar at the top of the Teams window. When you see the person whose status you want to check, click on them and it will open a chat window. Their profile picture will appear at the top and display their current status. You can hover your mouse cursor over their profile picture to see more information about their status.
To update your status indicator manually, in Teams:
Click on your profile picture, then click on the current status.
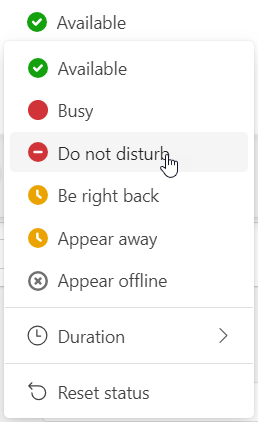
Select the new status from the list.
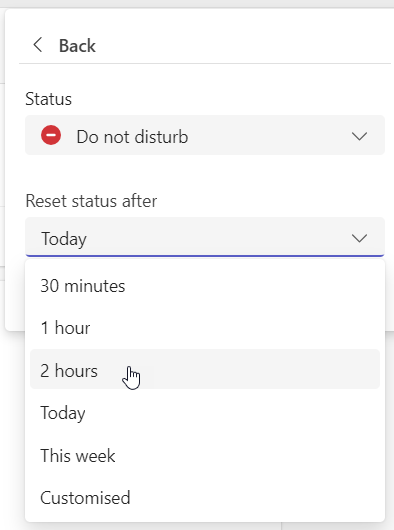
[Optional] To set a duration for a manually set status, click the current status again and select Duration, then choose how long you’d like the status to last.
[Optional] To provide a specific message about your status, click Set status message to add a custom message (up to 280 characters) and duration and choose whether to have your message displayed to other users when they message you.
If you set a duration for your manual status, your status will return to automatically reflecting your calendar availability when the duration is complete. If you didn’t, you can also return it to this automatic mode by clicking Reset statusĀ in the Status drop-down menu (see step 2 above).
In the Teams app:
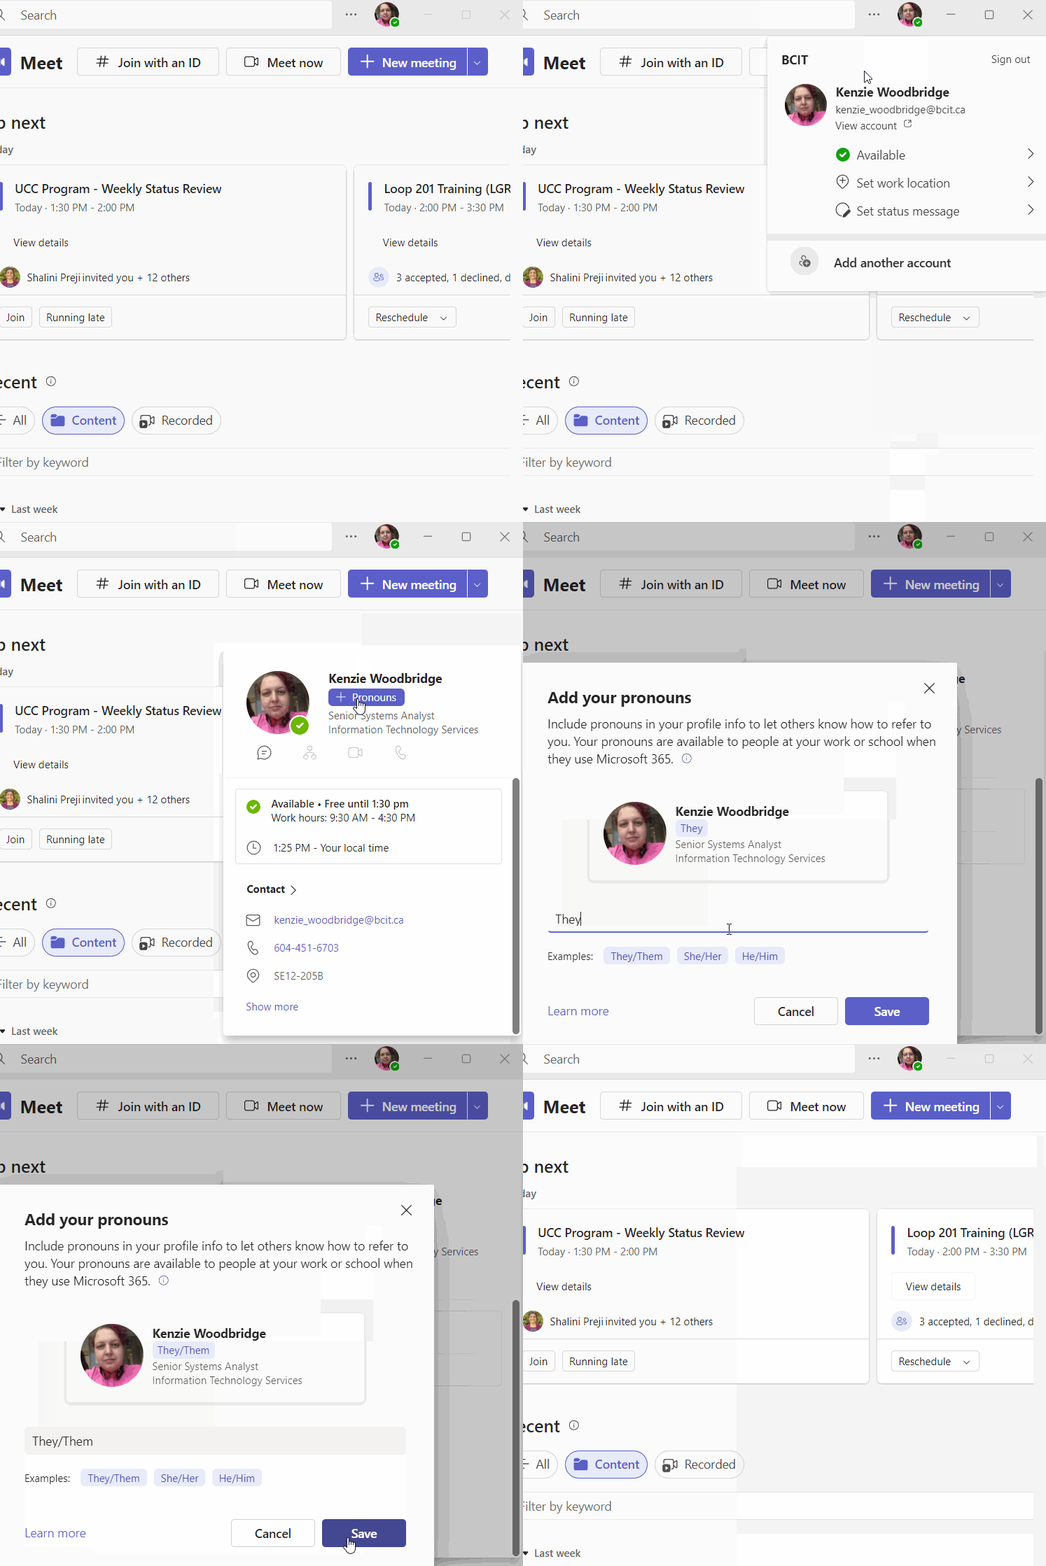
Click on your profile picture in the upper right corner, then click on your nameĀ and email address to view your profile.
Click the + Pronouns button below your name.
Type your pronouns into the field and click the Save button.
The Activity feed in Teams displays the updates that may be the most relevant to you, such as replies and reactions to your own posts and @mentions. You can view the feed at any time to see what you might have missed. You can also modify your settings to determine which Teams notifications show up in the Activity feed, whether they make a sound, and whether (and when) you will automatically receive an email about notifications you’ve missed.
Viewing the Activity feed
To view the Activity feed, in Teams:
Click on Activity at the top right of the Teams app.
Note: If you have new notifications, the Activity icon will also display a red circling showing the number of new notifications you’ve received.
[Optional] To view only new/unread notifications, turn on Unread only.
[Optional] To filter your view to search for a notification via keyword or to include only certain types of notifications, click the filter icon at the top of the feed.
Modifying your notification settings
To get to your notifications settings, in Teams:
Click on Activity at the top right of the Teams app.
Click the more options icon (three dots) next to the filter icon, then select Notification settings.
Here you can choose whether notifications will be accompanied by sounds, whether they will display during meetings, and whether and how often you will receive an email to alert you to Teams notifications you may have missed.
Teams is automatically deployed to BCIT-issued laptops and BCIT-issued mobile devices and is always available to use in a web browser from any device, including personal devices. If you wish to do so, you may also install and use the Teams app on your personal mobile device.
Search the Google Play Store or the App Store for “Microsoft Teams” or click through to the links below on your device:
Training was available to all BCIT employees during the initial launch period but is not currently being offered. Feeling sad that you missed it? Review this recorded training session from February 20, 2024: