For some courses, instructors may need to support students to use a custom virtual machine to complete their studies. Virtual machines are hosted and accessed in Educloud through BCNet. This article is intended to address information important to instructors. Students should instead check out the Accessing Virtual Machines in Educloud article.
In your browser:
- Go to appsanywhere.bcit.ca and login with your usual BCIT credentials.
- Look for/search for the Educloud tile.
- Hover your mouse over the tile and click the Link button.
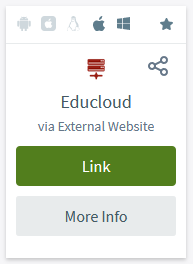
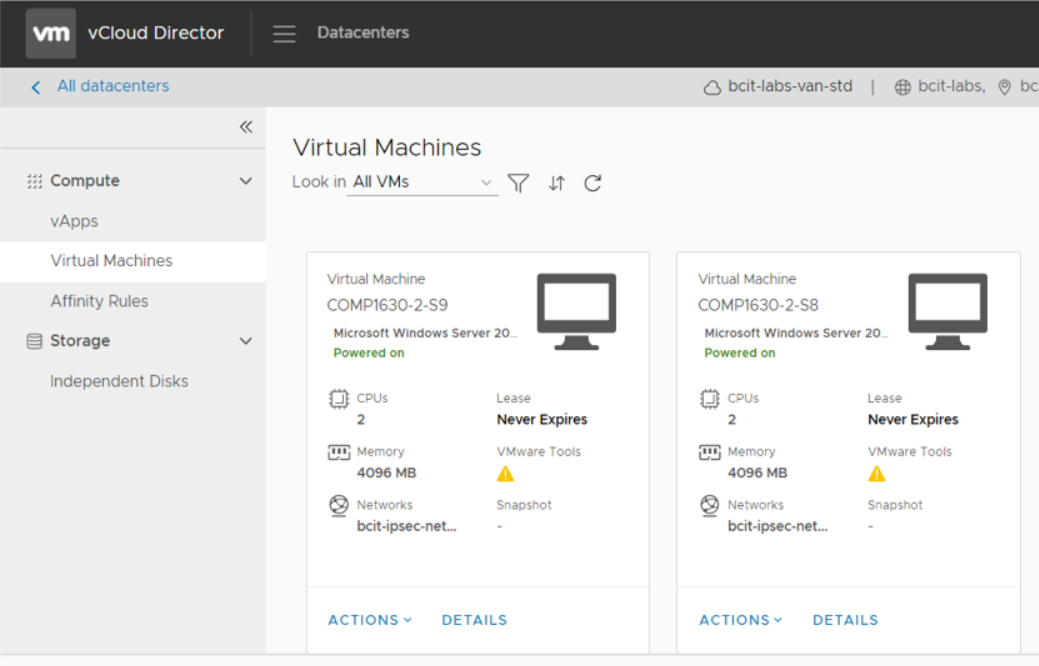
- This will bring you directly into the Educloud portal where you will be presented with a list of VMs. From here you can choose the VM to use from the list of VMs available to you. You can also filter VMs by name and other criteria.
Note: You can also go to Educloud directly.
Within the Educloud portal you are presented with a list of virtual machines (VMs). From the VM Actions drop-down menu, you can see a list of actions that you could perform. The ones you’ll use most include “Start”, “Stop”, “Power Off”, “Create a snapshot”, and “Launch a remote console”.
Note: The “Stop” VM option will perform a controlled shutdown of the VM whereas the “Power Off” option is equivalent to pressing the On/Off switch.
Important: When powering on a VM, be very careful not to click on the“Power On and Force Recustomization” option which is just below it. This would cause the Windows administrator password and in some Linux versions the root password to be reset to a randomized password. It will also disable the auto administrator logon on any Windows VMs that were set for it.
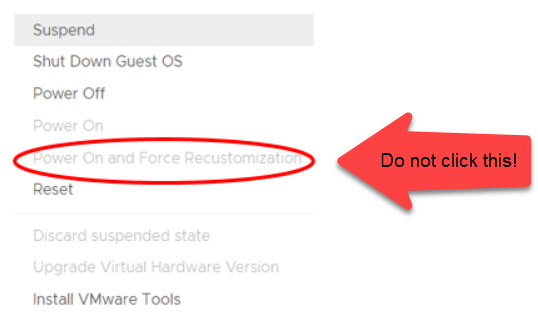
If you do accidentally click this option, the newly randomized password can be found in the VM details page (see below).
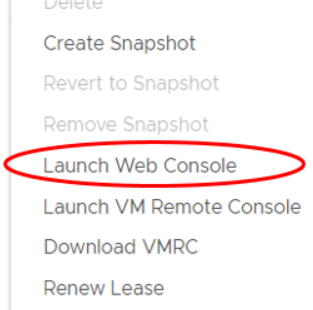
To access a VM, scroll down the drop down list and click on “Launch Web Console”. This will launch the VM in a separate browser window.
If required, the “Send Ctrl-Alt-Del” button is in the upper left corner.
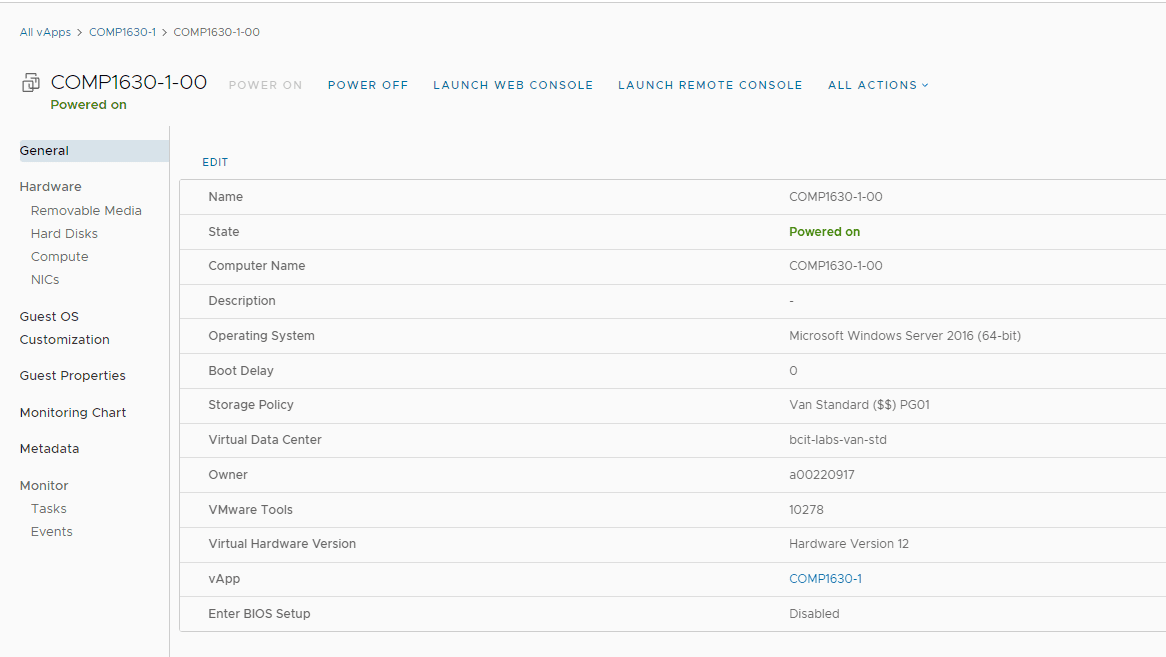
From the VM details page, you can see the general information about the VM.
If you click on the links under the Hardware section, you can see the resources that have been allocated to the VM. Clicking on NICs in the Hardware section will display the network settings for the VM.
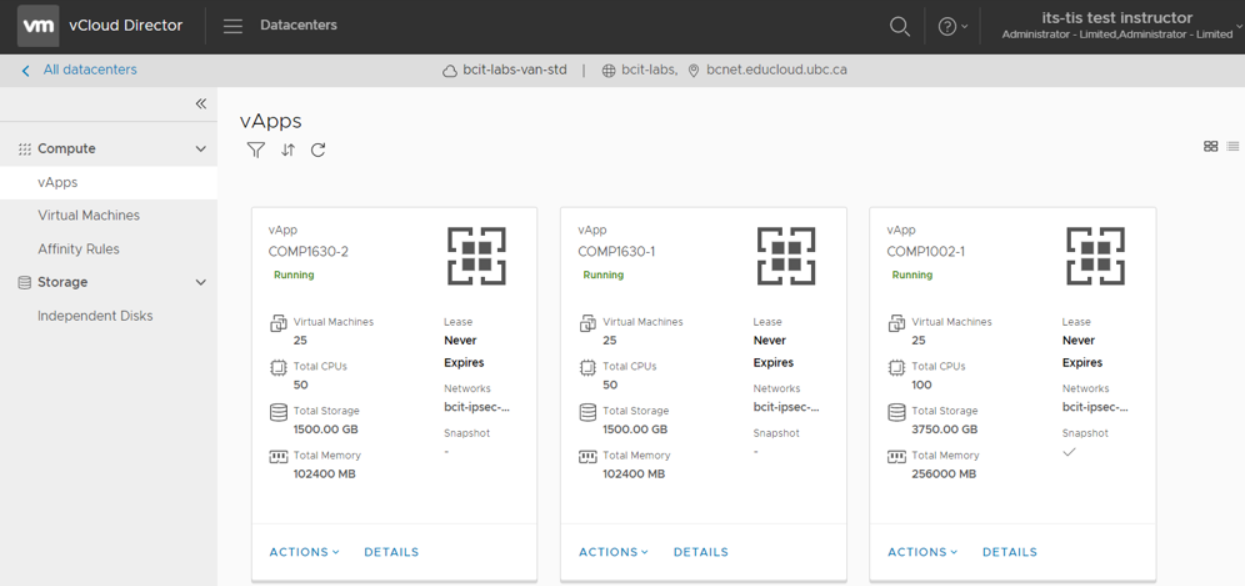
vApps are a collection of VMs. They’re currently labeled according to the course name however, they can be provisioned for other courses to use as well if the VM software meets their needs. On the vApps page you will be able to see all the vApps you have access to. At the bottom of each vApp tile there is an Action and Detail drop down menu just like on the VM tiles.
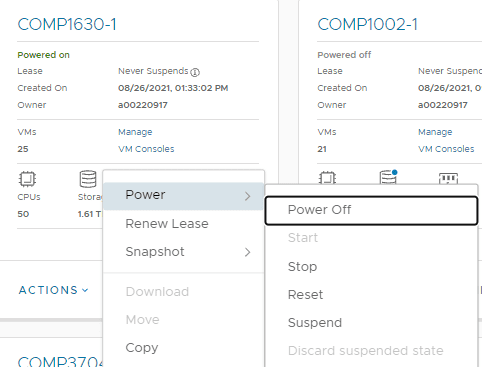
From the vApp “Actions” drop down menu, you can perform a list of actions. The most common ones will be to Start or Stop a VM, or Power Off. These actions will apply to all the VMs in the vApp collection. If you choose to “Stop” the vApp, then it will shutdown all the VMs in the collection. Likewise if you choose to “Power On” the vApp, it will power on all the VMs.
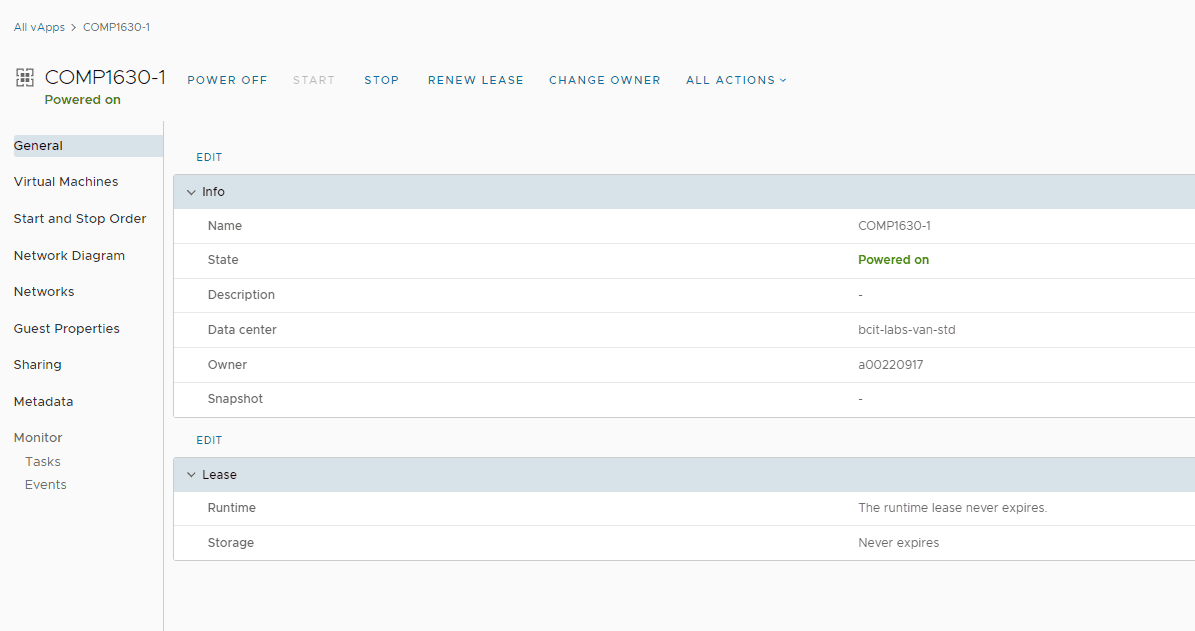
If you click on Details, you’ll be taken by default to the General information section of the vApp. The default credentials (if set) for the VMs will be listed in the Description field. The Description field for Autologon VMs will be blank.
Clicking on the Virtual Machine heading will list all the VMs in the collection and their assigned IPs.
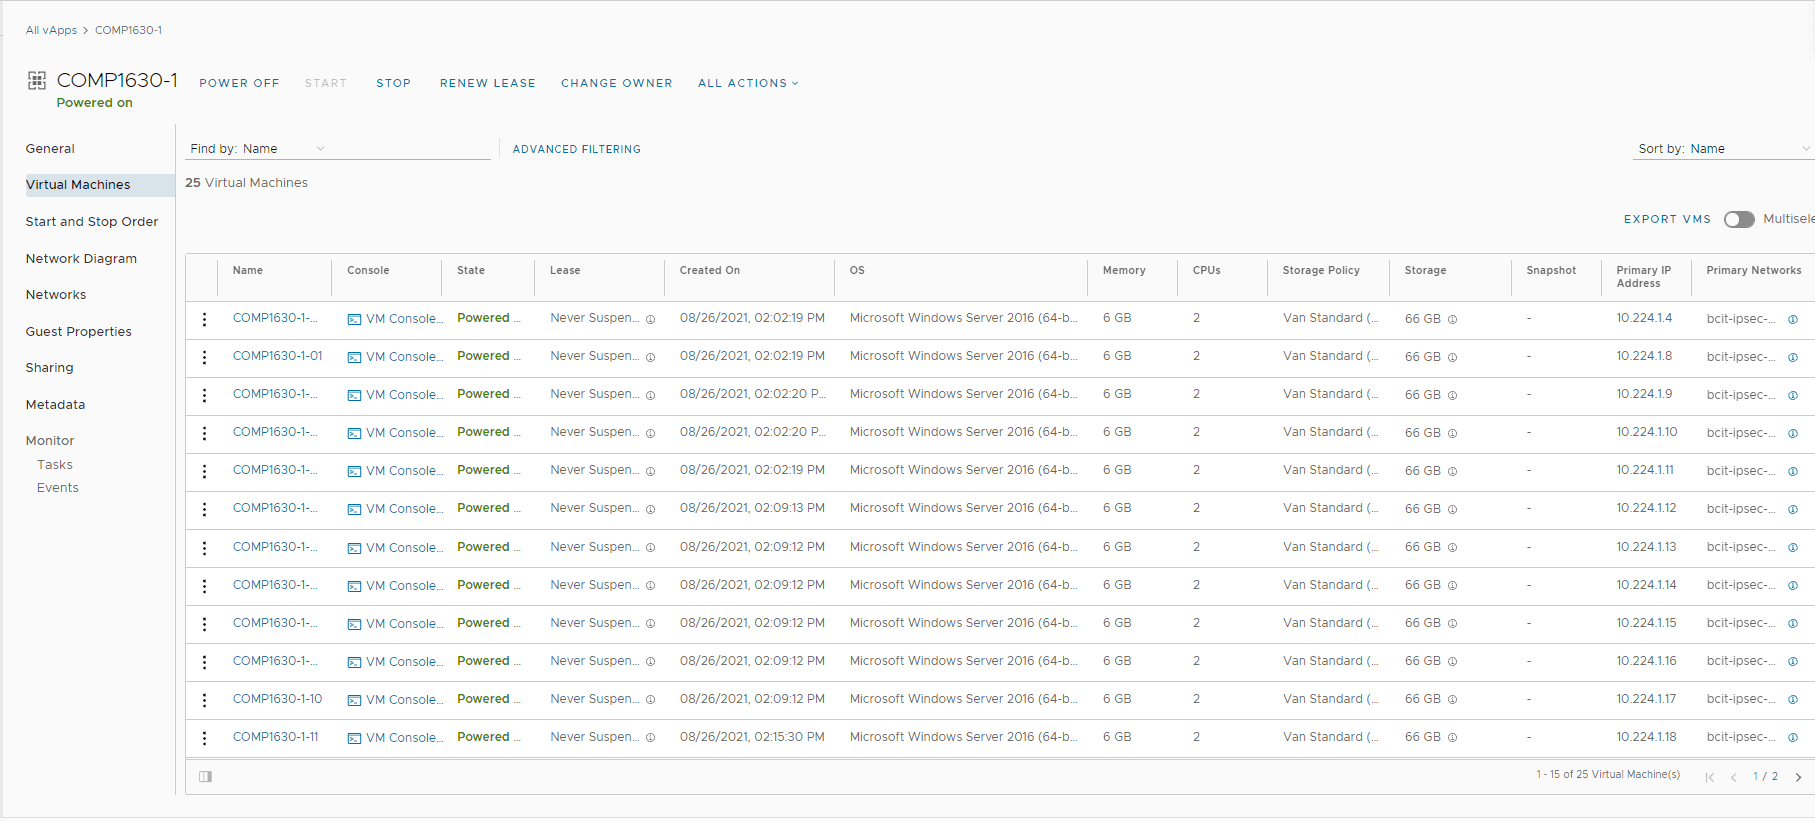
By clicking on the 3 dots beside the VM (in the first column), you can perform the same actions that are available from the VM view. Clicking on the VM name will take you to the VM details page.
Important information
Instructors and students have access to all the VMs in the vApps that they have been granted access to.
Please assign VMs to your students to prevent overlapping usage of VMs within the same class.
All the VMs are persistent so changes will be saved from one session to the next.
All actions performed in the Educloud environment are logged, including information about the resource, user, and time.
Due to limited resources, users should shutdown their VMs when they are done with them. An exception to this is courses that run five or more days of teh week or project servers which can be left running 24/7.
If a VM is reverted to snapshot when it is powered off and it is using the “IP Pool” for IP allocation, it will lose its network settings when powered back on. To fix this, simply perform the “revert to snapshot” action again on the VM while it is powered on.
Ensure that your VM hardware compatibility is set no higher than “Workstation 16.x” as that is currently the highest version supported by Educloud.
Recommended minimum hardware configuration:
- Windows OS VMs – 2 CPUs, 2 cores, and 4GB RAM
- Linux OS VMs – 2 CPUs, 2 cores and 4GB RAM
Avoid creating administrator autologon VMs in Windows. The “Power On and Force Recustomization” action will break the autologon. It is best to create a separate user account with administrator privileges instead. This account will persist even through a recustomization.
For Windows KMS Activation, add the following DNS suffixes to the DNS tab under the network settings of the network adapter: ad.bcit.ca, bcit.ca
Disable updates on Windows and applications otherwise you will receive update notifications.
Enable RDP or remote access (SSH, VNC) in Linux if you with to connect directly to the VM via IP address.
Enabling network access on Linux VMs
Some Linux VMs may not autoconfigure the network adapter after creation. You may hve to manually configure them with the information from the VM NIC page.
For some versions of Ubuntu, you have to open a terminal window and perform the following commands to enable network connectivity:
- sudo nano /etc/NetworkManager/NetworkManager.conf
- change the line managed=false to managed=true
- Save, stop and start network manager: (or you could restart the VM)
RDP and remote access to Linux VMs
RDP to Windows and remote access to Linux VMs is possible. Users will need to use BCIT’s myVPN to connect to directly to the VM. Use the IP address as the VM hostnames are not registered.