Jabber is part of the unified communications offering at BCIT that offers presence, instant messaging (IM), voice, video, voicemail, desktop sharing, and conferencing in a single program.
This guide will highlight the steps required to install Jabber on an iOS mobile device. Cisco Jabber does not require a VPN connection to operate outside BCIT.
This guide assumes you have prior knowledge about installing apps on your device.
Jabber installation
Here are the steps to install and configure Cisco Jabber on your iPhone or iPad.
- Complete the online “Request Personal Device Enrollment” form on the ITS Self Service Portal (under Chat, Video and Collaboration → Instant Messaging → Jabber) to request to have your device activated.
-
- Note: Every device will require its own activation.
- Ensure that you are aware of your Device Type and OS version prior to making the request.
- Once IT Services has activated your device you will receive an email stating that your Service Request has been completed, you may now proceed to Step 2.

2. Once your access has been granted, go to the App Store on your mobile device, and search for “Cisco Jabber”. Locate the app illustrated below and make sure it has been issued by “Cisco Systems, Inc”.
3. Tap the Cloud icon to download the app and complete.
4. Once installed, tap Open to launch the app.
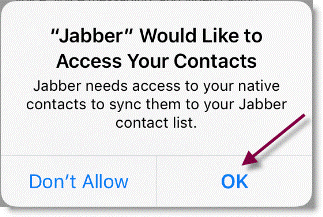
5. Allow Jabber to access your contacts.
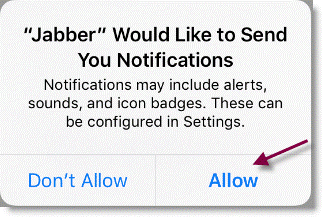
6. Allow Jabber to send you notifications.
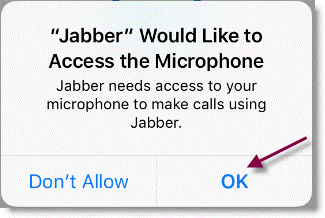
7. Allow Jabber to access the Microphone.
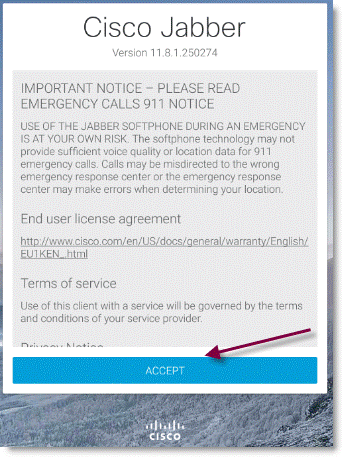
8. On the Terms of Service screen, tap Accept to continue.
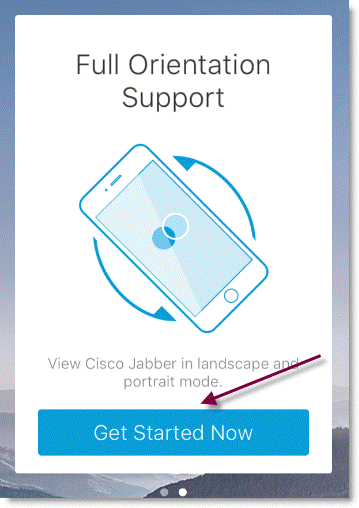
9. Swipe through the Introduction screens and tap Get Started Now to continue the setup.
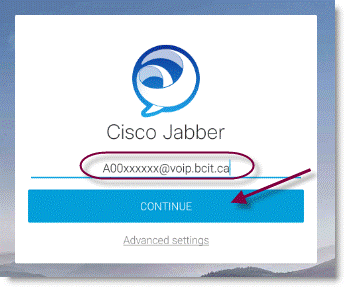
10. On the first identification screen, enter your BCIT ID (A0xxxxxxx@voip.bcit.ca) and tap Continue.
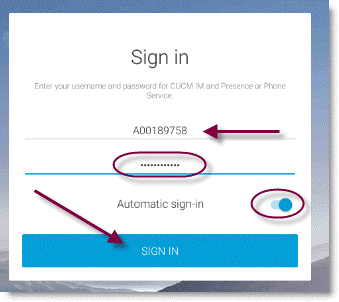
11. On the Sign In screen, make sure your BCIT ID number is on the first line and enter your BCIT ID password. Enable the Automatic Sign In and tap Sign In.
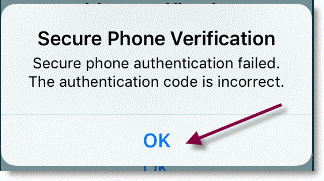
12. You may get a Secure Phone warning (especially on iPhones), simply click OK and enter your device Passcode.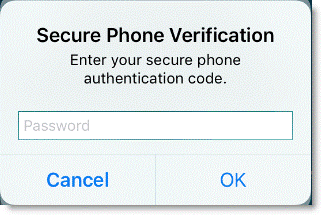
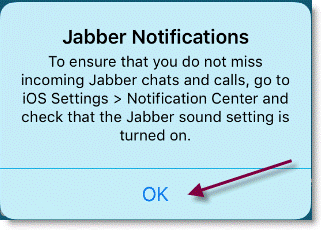
13. Tap Ok at the Jabber Notifications warning as these Sounds should be enabled by default.
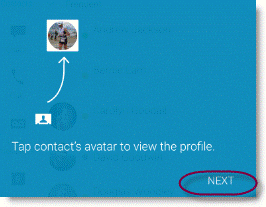
14. Walk through the welcoming tutorial by clicking Next
15. Jabber will open and you are ready to start.
-
- Note: if you receive another “Secure Phone Verification” warning that asks you to contact your administrator, you should ensure you have completed Step 1 of this process and contact IT Services.
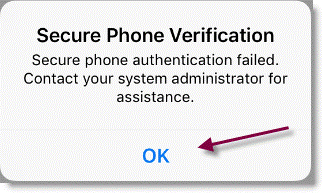
- Note: if you receive another “Secure Phone Verification” warning that asks you to contact your administrator, you should ensure you have completed Step 1 of this process and contact IT Services.
If you experience any issues with this installation, please contact the Technology Service Desk (604-412-7444 – option 1).