Note: Zoom cloud recordings will only be available for download until the dates listed above. If you wish to retain them, you’ll need to download them to your computer.
Until Zoom licensing ends, Zoom can be used for scheduled single and recurring meetings for groups of up to 300 people. It can also be used for impromptu meetings of any length between colleagues, including those “just a quick question” conversations that you might ordinarily walk down the hall for.
You will be redirected to a dashboard. Click on the Zoom button to sign in.
You are now signed in to Zoom, and will be directed to your Profile page.
Although you can wait until it’s time to attend a Zoom meeting to install the app, doing so ahead of time will make for a smoother and quicker experience at meeting time.
Click on the Download Client link at the bottom of the page.
Download the Zoom Client for Meetings and install it on your computer.
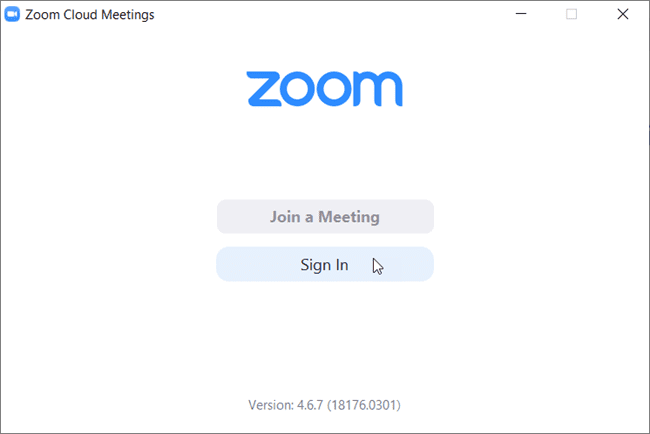
When the application loads after installing, click the Sign In button.
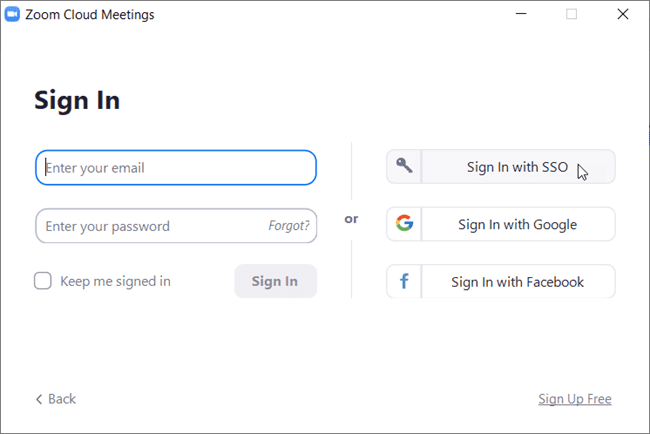
Click on the Sign In with SSO option.
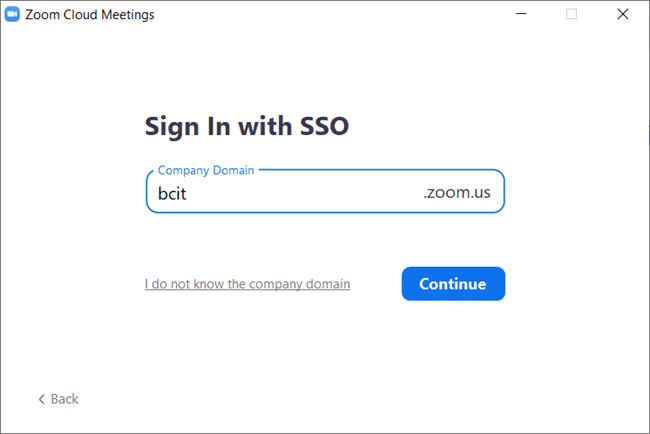
Type “bcit” into the Company Domain field and click Continue.
You will be directed to a regular BCIT sign-in page in your web browser. Sign in with your regular BCIT ID and password.
Note: If you have recently signed in to another BCIT tool in your browser, you may end up skipping the sign-in step and find yourself back in the Zoom Meetings app already signed in. This is normal.
The plugin should be automatically installed on your BCIT-issued computer (if it doesn’t appear, restart Outlook). To install it on a different computer, in your web browser:
Click on the Download Client link at the bottom of the page.
Download the Zoom Plugin for Microsoft Outlook and install it on your computer.
Note: You will need to quit Outlook for the installation to proceed.
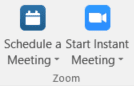
Open Outlook. You should see Zoom meeting options in the Home toolbar.
(Possible) Depending on whether you are currently logged into Zoom on your computer you may be asked to sign into Zoom the first time you open Outlook after installing the plugin. If so, you will likely encounter the following screen. Click on the Sign In with SSO option.
Type “bcit” into the Company Domain field and click Continue.
You will be directed to a regular BCIT login page in your web browser. Login with your usual BCIT credentials.
Note: The same basic process works with small variations in all versions of Outlook available to BCIT employees, including Outlook using macOS, BCIT webmail, and Office 365. The Zoom Plugin for Microsoft Outlook and Zoom Meetings application are required for the steps below.
In Outlook on your Windows PC
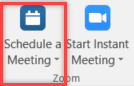
Click on the Schedule a Meeting button.
In the Zoom Schedule Meeting dialogue that appears, change any of the default settings that you wish to change for this meeting. Refer to Zoom’s Help Center information about scheduling options. For most people the default values will be sufficient. When done, click the Continue button.
In webmail
Create a new Calendar event.
Click on the small Zoom icon in the menu bar and click on Add a Zoom Meeting.
Note: You may be asked to sign in to Zoom. Click the SSO link and enter “bcit” in the Company Domain field.
Note: You can edit your default meeting settings by clicking on settings rather than Add a Zoom Meeting.
Outlook will open a standard meeting invitation and populate it with all needed Zoom meeting information. Modify the Subject Line and add any further context to the main content field above the Zoom information.
Important: Do not modify the Zoom information that was automatically added to the invite. Doing so has the potential to make it impossible for your attendees to connect to the meeting.
Add invitees and/or physical meeting rooms (if appropriate) as usual. You can also use the Scheduling Assistant to help you find a good time for your meeting.
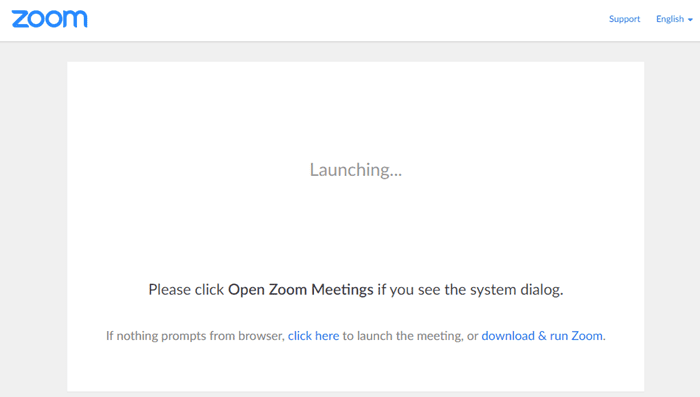
Click on the meeting link in your Outlook meeting. A page will open in your web browser.
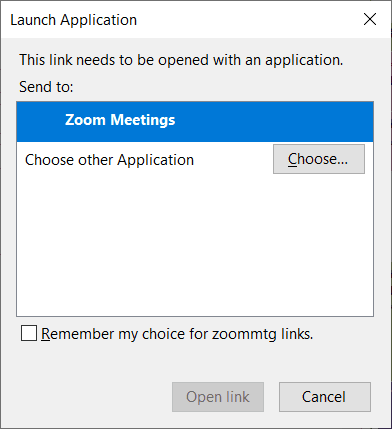
When a pop-up appears asking you to choose what application to use, confirm that it should use “Zoom Meetings”.
Zoom Meetings will launch and you will join the meeting.
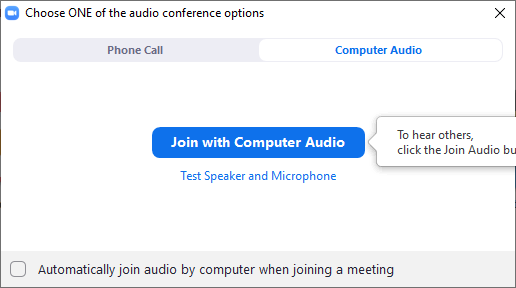
Once in the meeting, you will be presented with window asking you to choose an audio conference option.
If this is your first meeting, click on the Test Speaker and Microphone option and follow the steps presented to ensure that your audio is functioning as intended. Once complete, choose the Join with Computer Audio option.
Note: You may check the box at the bottom of the window to join all future meetings using computer audio.
Note: You may alternatively use the numbers listed under the Phone Call tab to call into the meeting for audio. These phone numbers are also listed within the zoom calendar invitation. When joining audio though a phone call, you may be asked for the meeting ID and password.
To add your pronouns to your display name, you’ll need to go the Zoom web portal.
Click the Sign in button and then sign in with your usual BCIT login credentials (your BCIT email address and password).
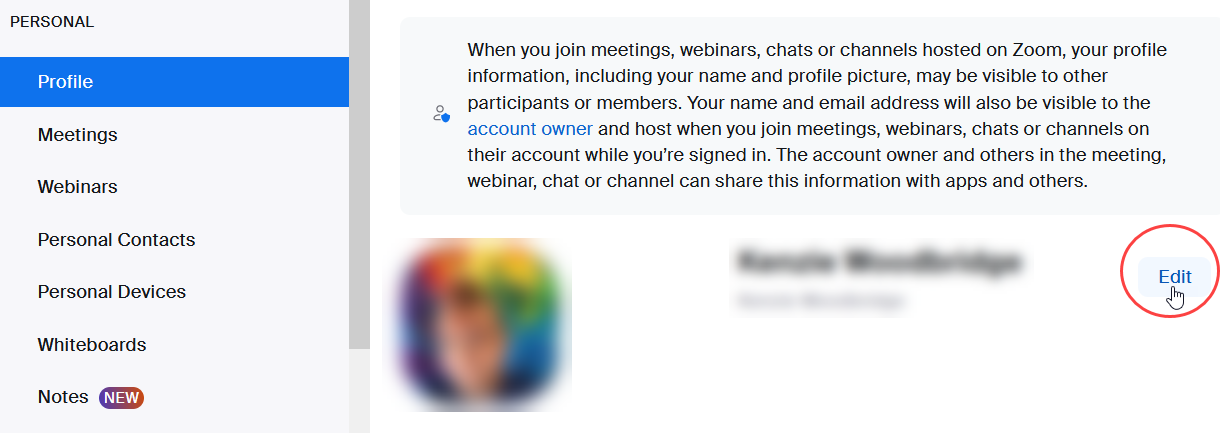
In your Profile settings, click the Edit link next to your name and avatar.
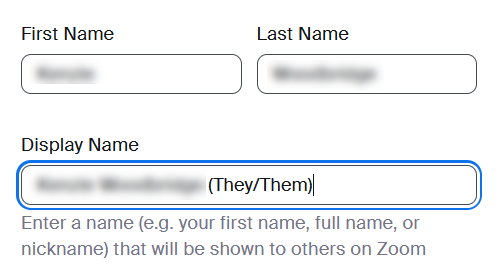
Edit the DisplayName field to add your pronouns after your name.
Note: Any changes made to the First Name and Last Name fields may be overwritten when your account syncs with BCIT’s systems. Only changes made to the Display Name field will persist.
Click the Save button.
The changed Display Name will be visible in your online Zoom web portal profile and will be reflected almost immediately in the Zoom app as well.
As of November 23, 2022, Zoom cloud recording will be available for all faculty and staff and the option to do so will be turned on for meeting hosts (and co-hosts) by default.
To record a meeting:
Start the meeting (one for which you are the host or co-host) and (if desired) share your screen and arrange the meeting participants view in whatever way you’d prefer.
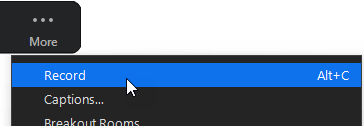
Click the Record button in the toolbar.
Note: If you are sharing your screen or using only part of the screen for your meeting window, you may need to click the More button in the toolbar and then choose Record.
An audio cue (“Recording in progress”) will be transmitted to all meeting participants and participants will be asked to consent to remain in the meeting while it is being recorded or to leave).
When you’ve gotten to the end of the meeting (or the end of the portion you wanted to record), click the Stop Recording button in the toolbar (or in the More menu).
Note: You can also pause and unpause the recording multiple times during the meeting if you wish.
After you’ve ended the meeting, you’ll be able to see your Zoom recording via the Zoom web portal, following the instructions in the next section.
To access your recorded meeting, you’ll need to go the Zoom web portal.
Important: Recordings in the Cloud will only be available up to April 20, 2024 (for BCIT staff) or May 31, 2024 (for BCIT faculty). Make sure you download any needed recordings before those dates to retain them. In addition, ordinarily Zoom Cloud recordings are only retained for 120 days. After 120 days, recordings are automatically deleted and cannot be retrieved, even by BCIT’s Zoom administrators. If you want to keep a recording, you’ll need to download it.
Click the Sign in button and then sign in with your usual BCIT login credentials (your BCIT email address and password).
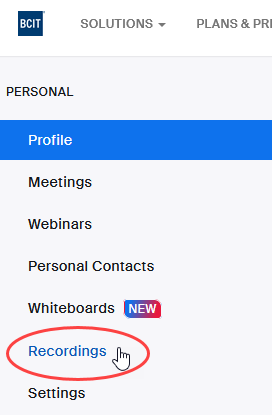
Click Recordings in the menu.
Here you’ll see a list of all available recordings.
Note: Recent recordings can initially show “Processing Recording…” under File Size. Processing can take several minutes to complete after you close a meeting and you’ll have limited interactions with a processing recording until processing has finished.
Sharing a recording
To share a recording means to provide a link to the recording in the cloud to another person.
Note: If a recent recording still shows “Processing Recording…” under File Size, you will be able to share it (and change the sharing settings), but the link won’t work until processing has finished.
In the list of available recordings in the Zoom web portal:
Click on the Share button next to the recording that you’d like to share.
[Optional] Modify your sharing settings:
You can change the Who can view setting from the default “Everyone with the recording link” to “Signed in users in my account”. If you do so, then whoever you give the link to needs to be a signed-in BCIT user (which means BCIT faculty and staff, BCIT students do not have BCIT Zoom accounts) in order to actually view the recording. In most cases, the default setting is fine.
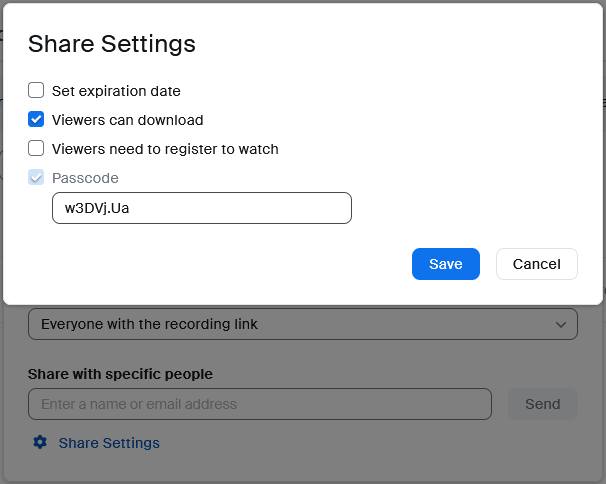
You can change any of the settings found by clicking the Share Settings link at the bottom
Set expiration date is unchecked by default. If checked, this lets you set a date after which the shared recording link will stop working.
Viewers can download is checked by default. If you want viewers to be able to view the recording online but not to be able to download it to their own computer, uncheck the box.
Viewers need to register to watch is unchecked by default and should remain unchecked. Checking this would require whomever you share the link with to either login to their existing Zoom account (if they have one) or create a new Zoom account just to watch the recording (if they don’t already have one).
Passcode is checked by default and cannot be unchecked. A passcode will automatically have been generated for the recording. If you shared the recording link previously without an expiration date, changing the passcode will prevent previous recipients from accessing the recording.
Click the Copy button next to the Shareable Link. You can then paste it into an email to send it to others, or use the link to create a link to the recording in D2L, etc.
Downloading a recording
Note: If a recent recording still shows “Processing Recording…” under File Size, you will not be able to download it until processing has finished.
In the list of available recordings in the Zoom web portal:
Click on the three horizontal dots next to the Share button for the recording you want to download.
Click Download (x files), then click the Download button to confirm.
Wait for the files to download to your Downloads folder. Depending on the length of the recording and the quality of your connection, this may take some time.
Deleting a cloud recording (before the 120-day auto-deletion)
Note: If a recent recording still shows “Processing Recording…” under File Size, you will not be able to delete it until processing has finished.
In the list of available recordings in the Zoom web portal:
Click on the three horizontal dots next to the Share button for the recording you want to delete.
Click Delete.
You will be asked to confirm that you want to delete your cloud recording and warned that this action is permanent and cannot be undone. If you are sure that you want to delete the recording, click the red Delete button.