Tired of having a silhouette icon? Want to put your face to your name? Here’s how you can create a profile picture that your colleagues can see in Outlook and Jabber. These two systems will share and sync the picture automatically but any other system using profile pictures will not be able to use it at this time. You will have to upload the picture individually to other systems for now.
Setting up a profile picture in Outlook
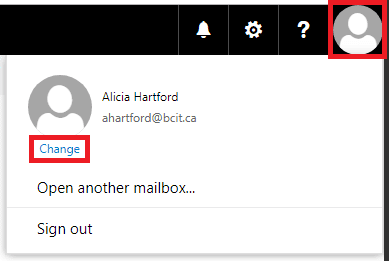
- Go to Outlook on the web and login with your usual BCIT credentials.
- At the top right of the page click on the person silhouette and then click the Change link.
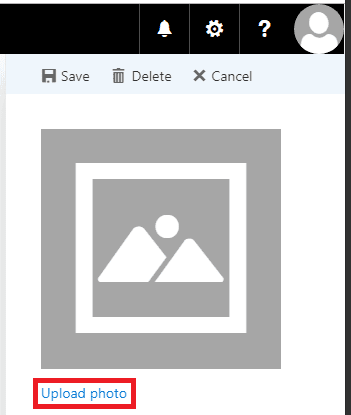
- Click the Upload photo link.
This opens a file selection dialog where a picture can be selected to be used for your profile. - Navigate to the picture you’d like to upload, select it, and click Open.
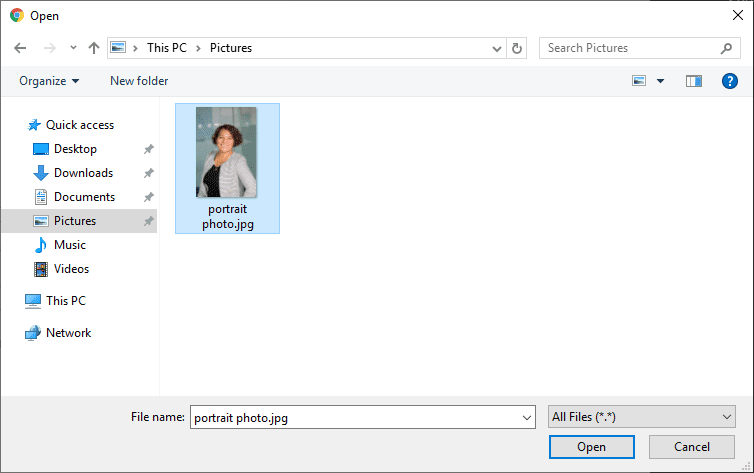
- Note: The higher quality the picture the better it will look. For best results the picture should be square in dimension and be at least 648 by 648 pixels in size. 128 by 128 pixels is the absolute the minimum size for a non-blurry profile picture.
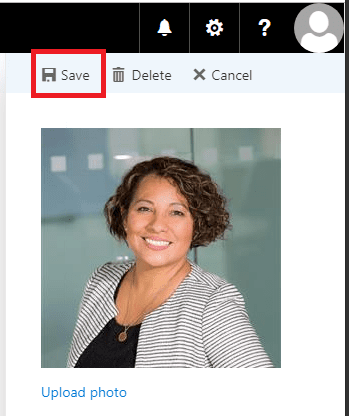
5. Click Save to update your picture.
- Note: If you are looking to remove your picture you can click Delete to clear the picture (this may take 1 – 2 days to completely update or remove the picture for all BCIT staff).
When the picture change takes effect users of some BCIT services (Outlook, Jabber, etc) will be able to see the user photo when searching and communicating using those services.
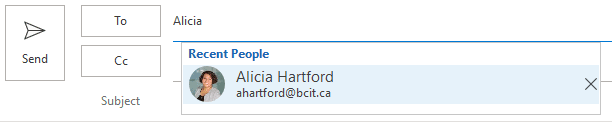
Example: Outlook searching for employee
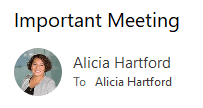
Example: Outlook receiving an email
Frequently asked questions
More information about Outlook & Exchange
-
Adding an Attendee to a Meeting Request in Outlook & Exchange Online
-
Finding and Booking a Meeting Room/Resource in Outlook and Exchange Online
-
Managing Shared Email Accounts & Distribution Groups in Outlook
-
Problem with Outlook ActiveSync Maximum Number of Devices Allowed
-
Setting up BCIT Email and Connecting to Exchange Online on Your iOS Device